
 |
 |
 |
 |
 |
 |
 |
 |
 |
|
|||||||
 |
|
|
Thread Tools | Display Modes |
|
|
#91 |
|
Trip's Assistant
 Join Date: Feb 2008
Location: Imported from Detroit
Moto: 2009 HD Street Classic
Posts: 12,149
|
Capt... shit... money is always a thing that in my mind can be minipulated. Pay now or pay later you are going to pay one way or the other. Might as well enjoy yourself. Further, I don't plan on doing this crap when riding season gets here!
Rider... I contracted thru Lowe's. And went with Granite Creations in Novi. I'm sure your local lowes or hd can steer you in the proper direction for sure. The thing about corian is that its now about twice as much as granite. Corian is nice, I have it in one of my baths, but I think granite is far nicer. The greatness is that its natural and that is where it gets it true bueaty. You simply seal it once a year and you're good to go. Besides, tell me the last time you threw a raw slab of meat on your counter? YOu simply don't do that... it goes on a cutting board. |
|
|

|
|
|
#92 | |
|
Moto GP Star
Join Date: Feb 2008
Posts: 12,156
|
Quote:
|
|
|
|

|
|
|
#93 |
|
Trip's Assistant
 Join Date: Feb 2008
Location: Imported from Detroit
Moto: 2009 HD Street Classic
Posts: 12,149
|
Not sure which did what... but corian is like twice as much now! Just like most of the man made anything is.
|
|
|

|
|
|
#94 |
|
Moto GP Star
Join Date: Mar 2008
Posts: 14,556
|
|
|
|

|
|
|
#95 |
|
Trip's Assistant
 Join Date: Feb 2008
Location: Imported from Detroit
Moto: 2009 HD Street Classic
Posts: 12,149
|
IDK...don't care. I have corian and have saw granite. Granite is nicer in my POV
|
|
|

|
|
|
#96 |
|
Trip's Assistant
 Join Date: Feb 2008
Location: Imported from Detroit
Moto: 2009 HD Street Classic
Posts: 12,149
|
Sorry for being MIA... last weekend we got a shit load of snow and that pretty much put me out of spare time at work and home. Couple that with the kitchen project and I've been OUT OF TIME.
So all last week I was doing drywall/mud work on the room. 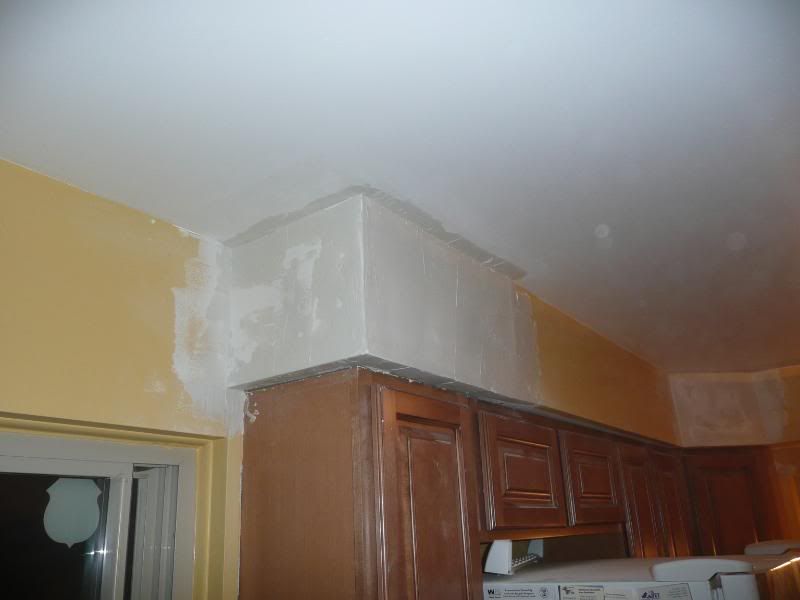 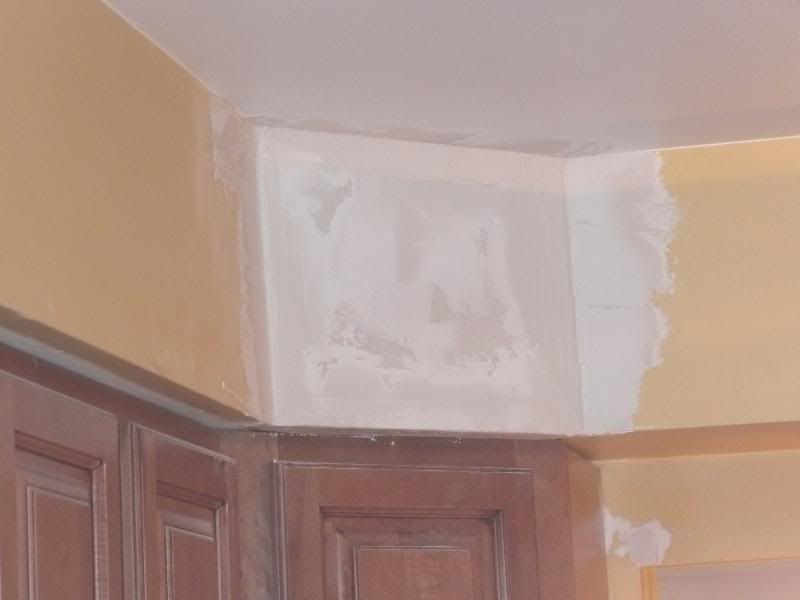 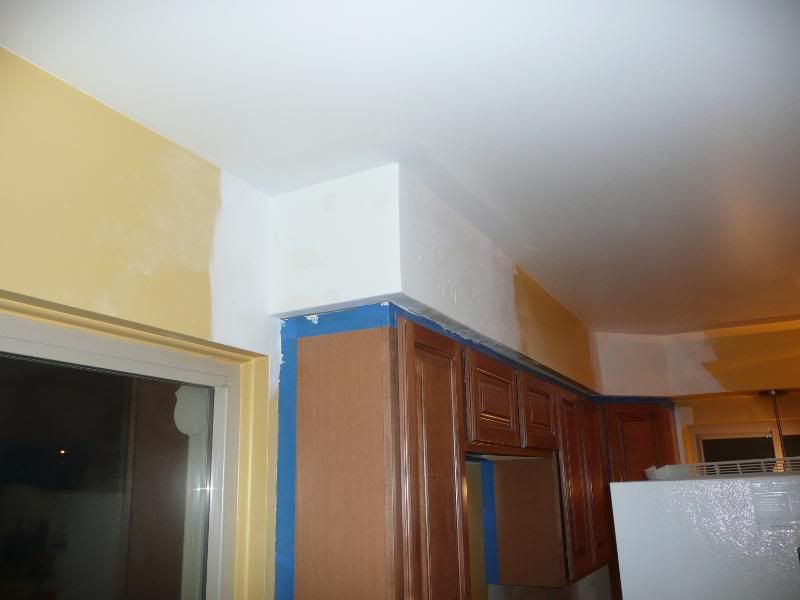 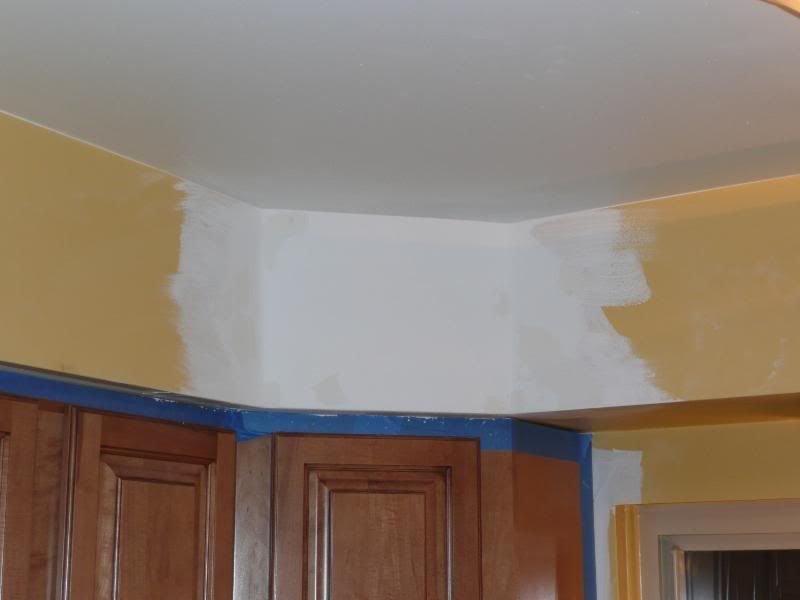 Put on a piece of trim behind the stove... you guys know how I am about details... 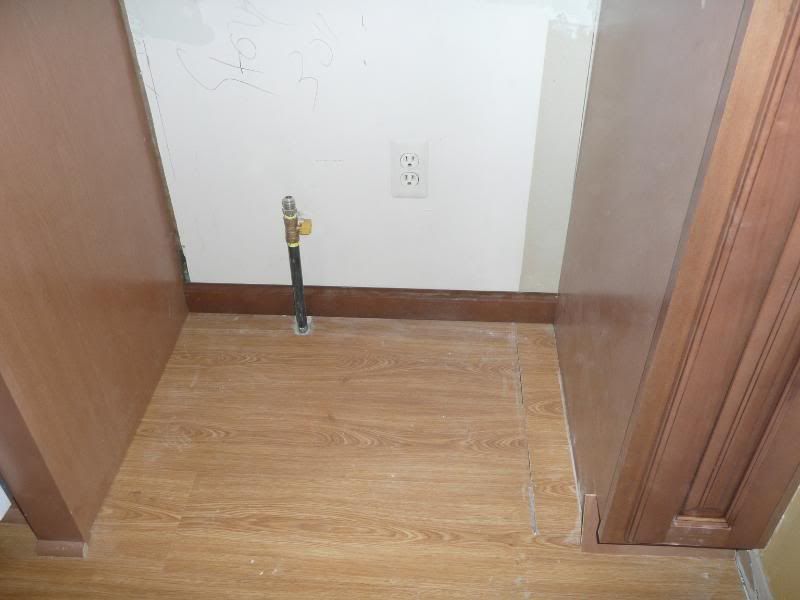 Put on a coat of killz 2 primer 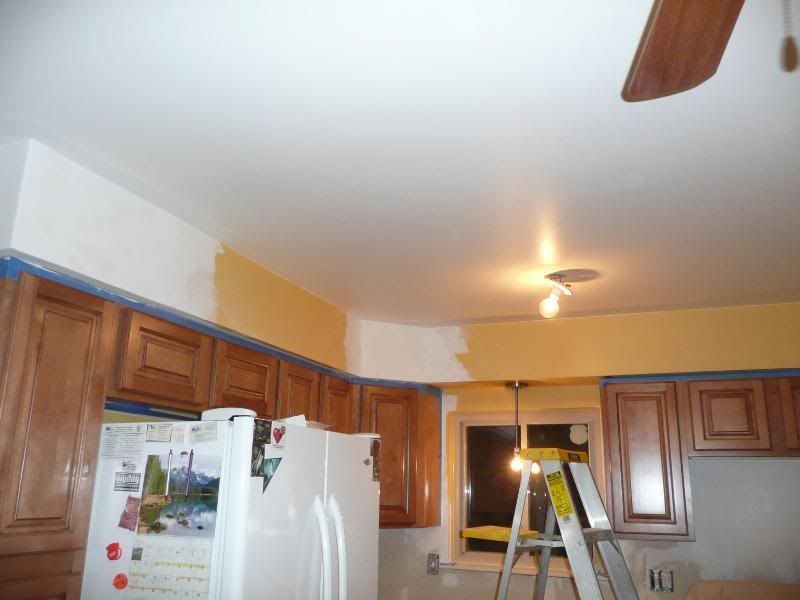 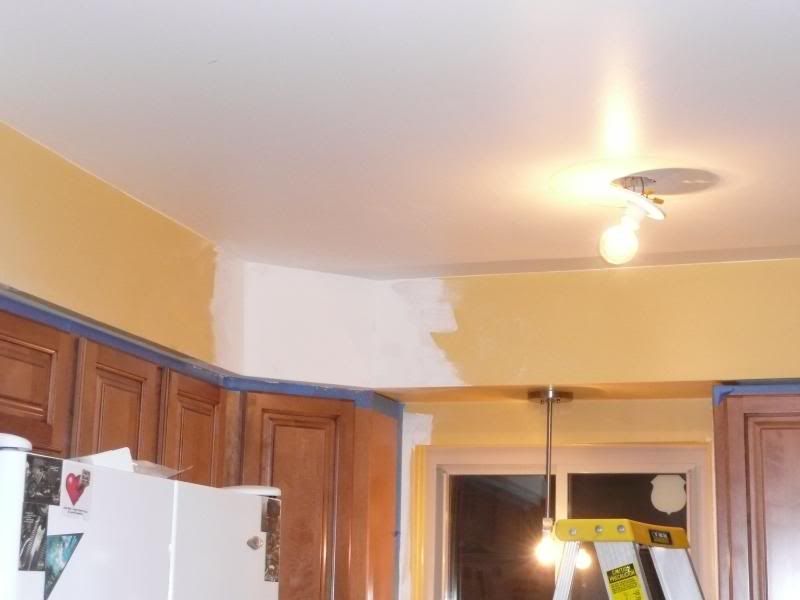 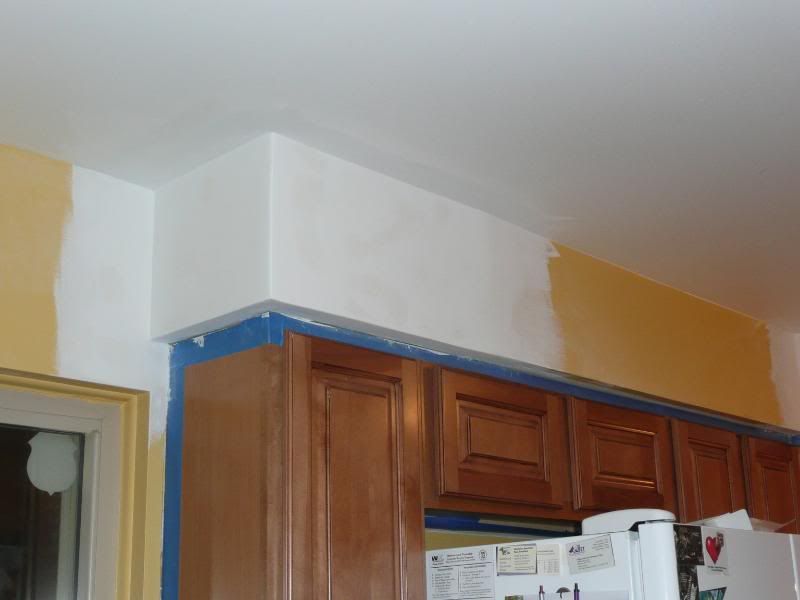 That was the turning point so we cleaned up the drywall dust and took down the plastic walls. 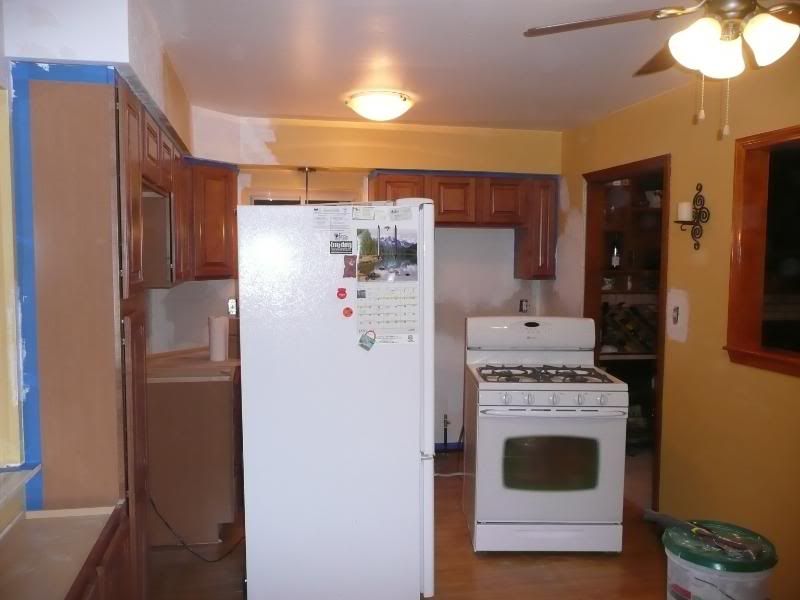 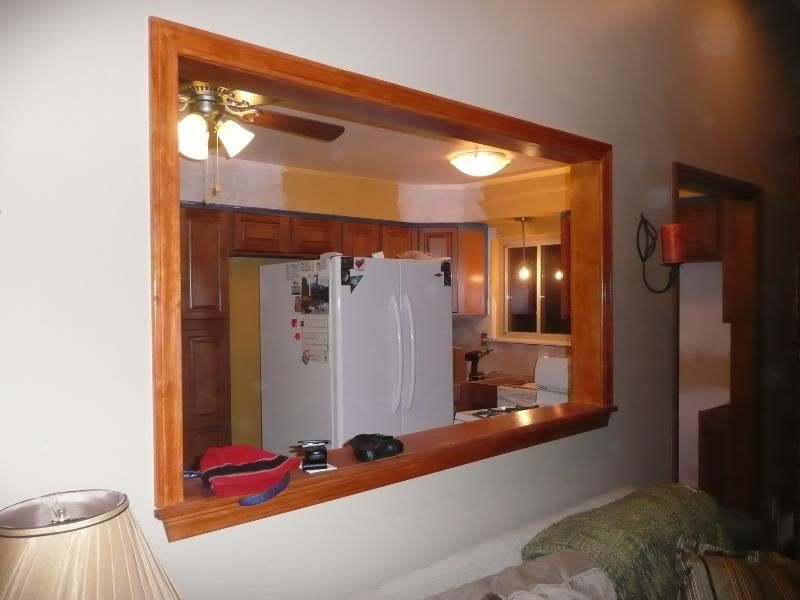 Then threw on a coat of paint 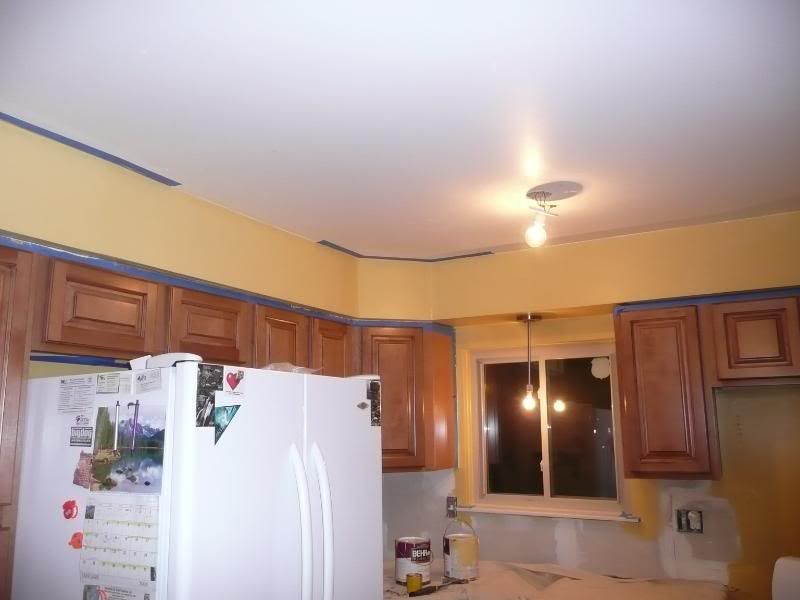 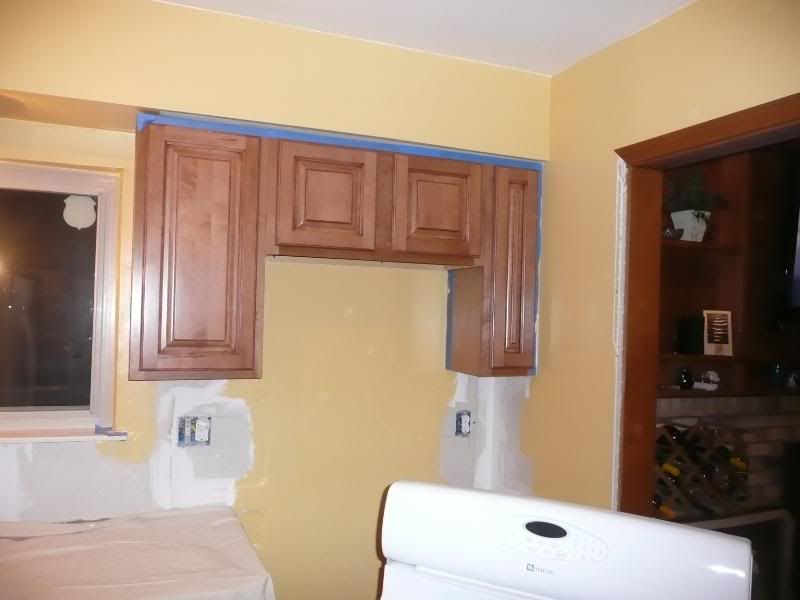  Then tuesday the Granite got installed 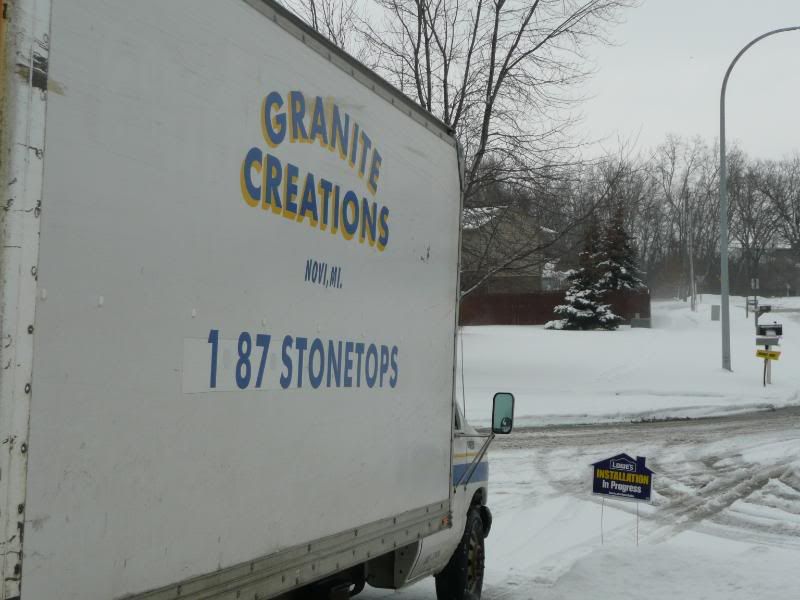 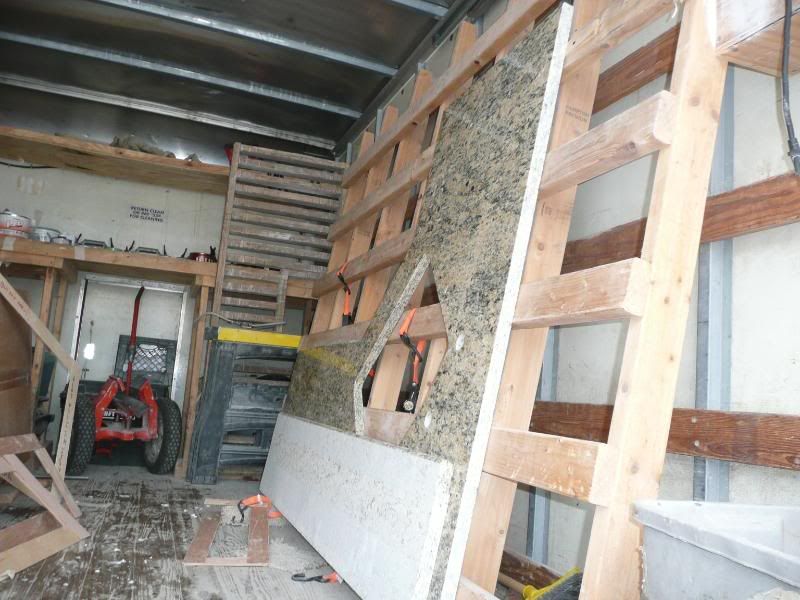
|
|
|

|
|
|
#97 |
|
Trip's Assistant
 Join Date: Feb 2008
Location: Imported from Detroit
Moto: 2009 HD Street Classic
Posts: 12,149
|
Sink cut out & mount
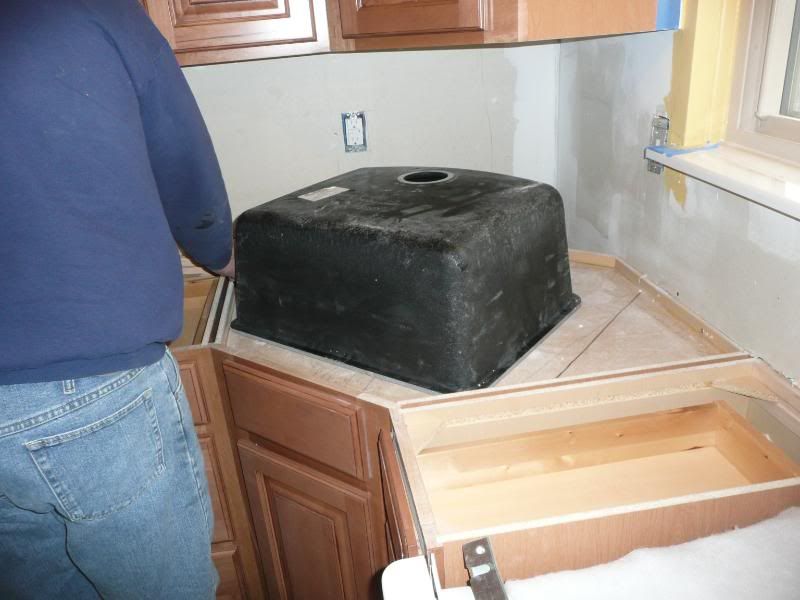 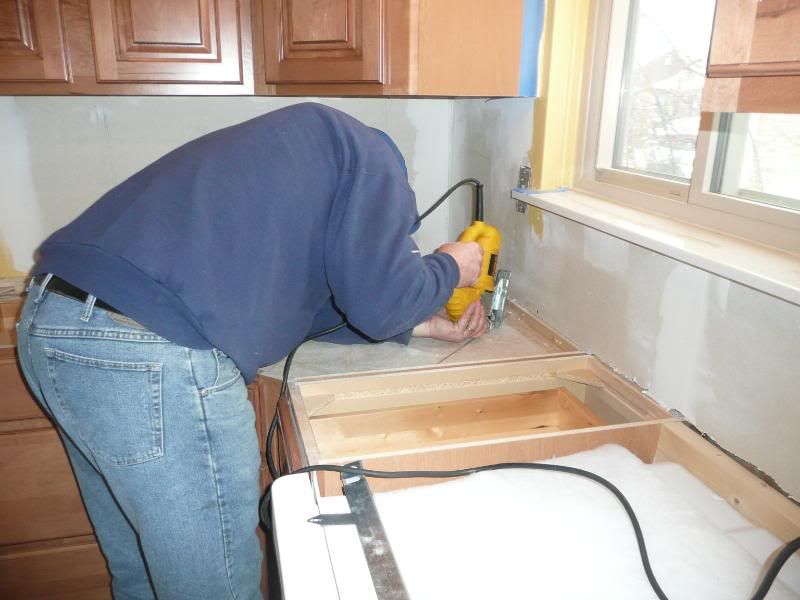 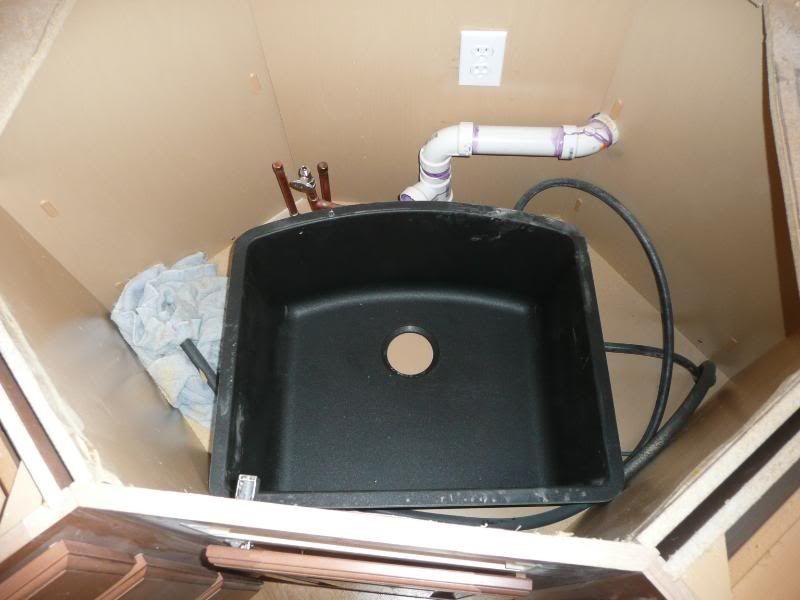 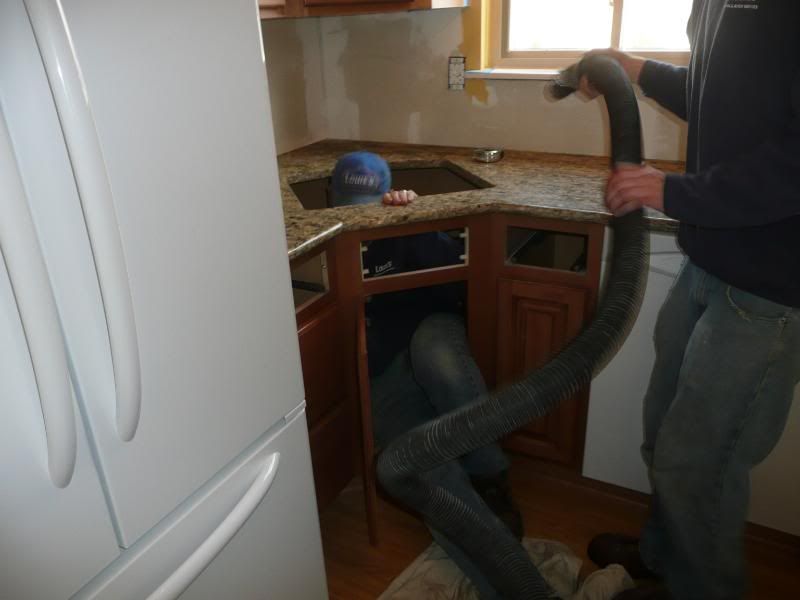 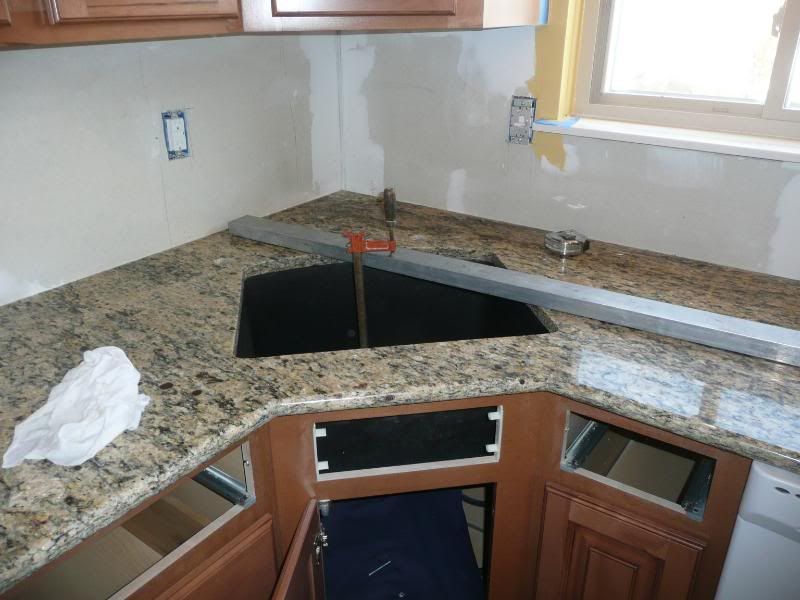 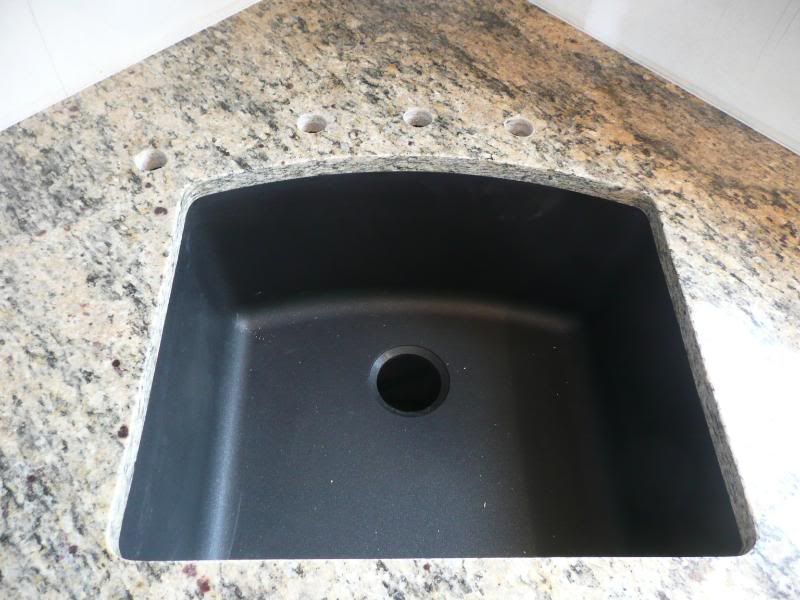 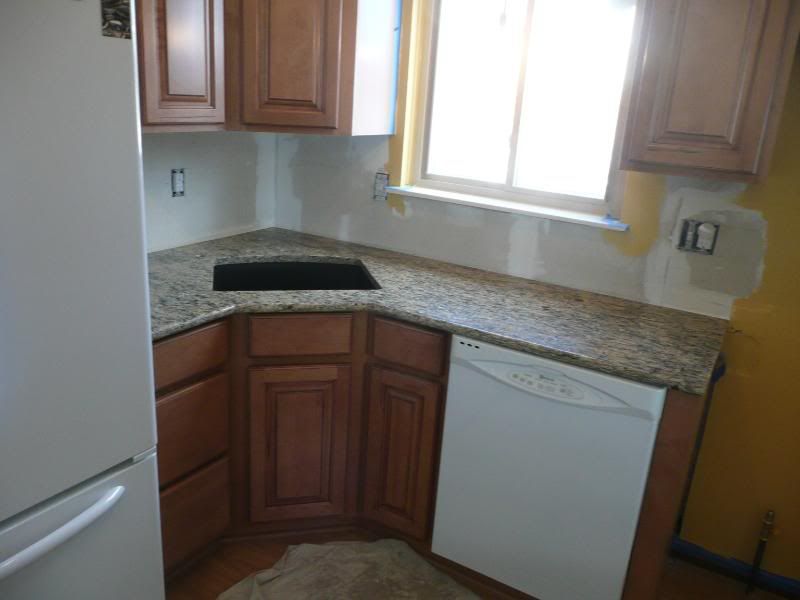 The small piece next to the stove 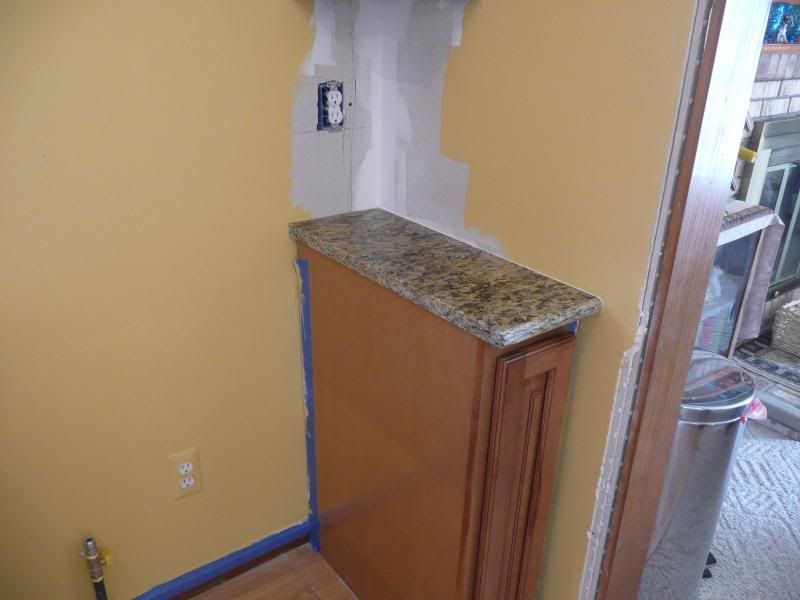 The buffet and backsplash install 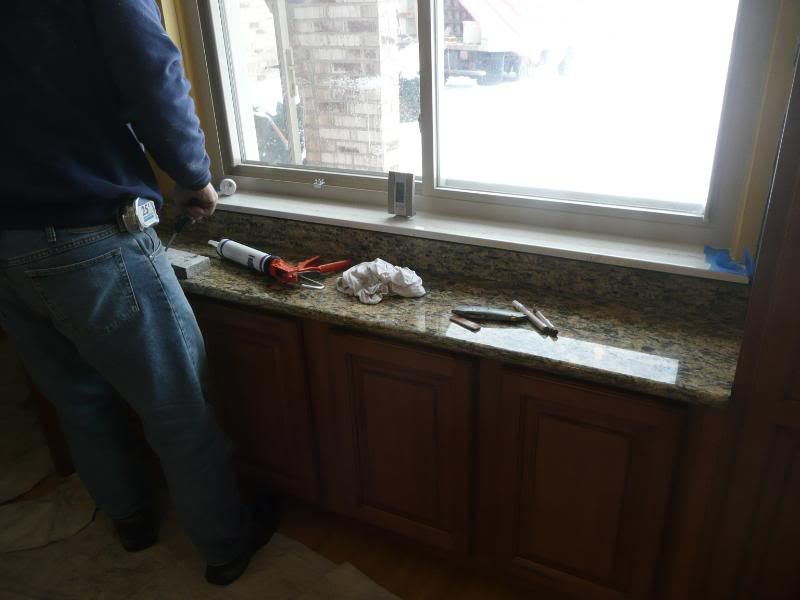 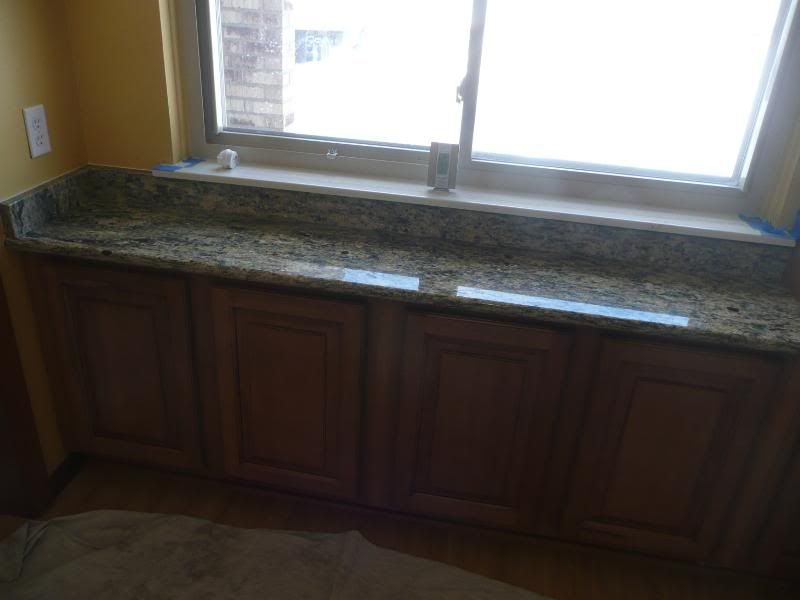 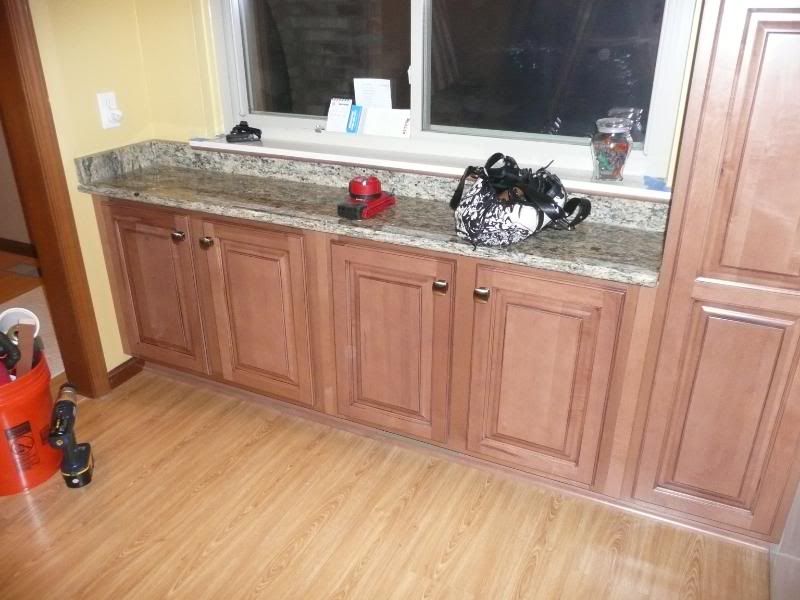 Wed I got a few things done. The plug to the right of the buffet installed in the pantry 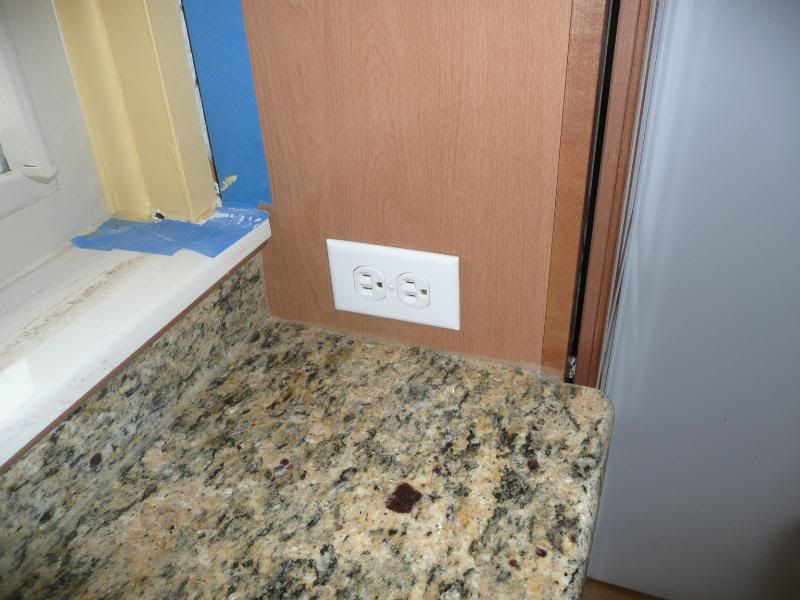 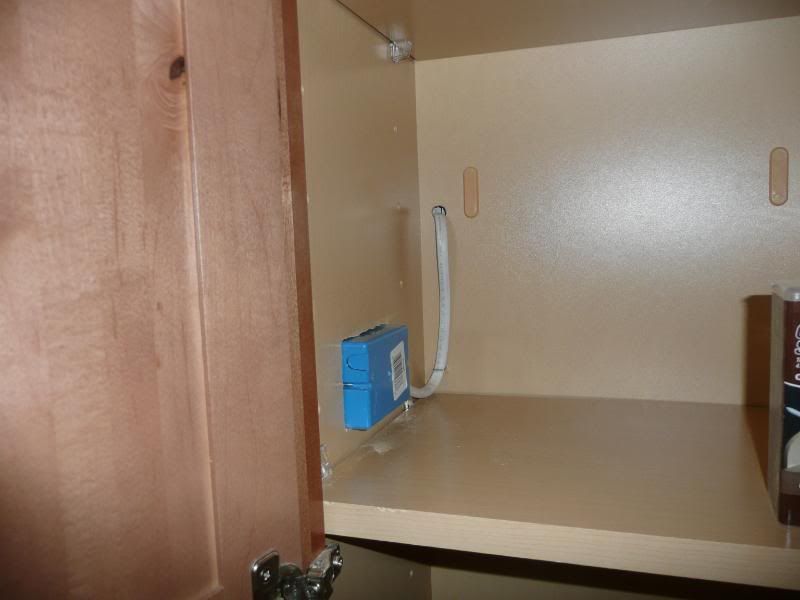 Then I installed the under cabinet lights Here's the plug I need to plug into above the micro. The left side is on the dimmer by the sink and the right side is constant power from a diffrent circuit for the microwave. Drilled my holes and started to run my wires 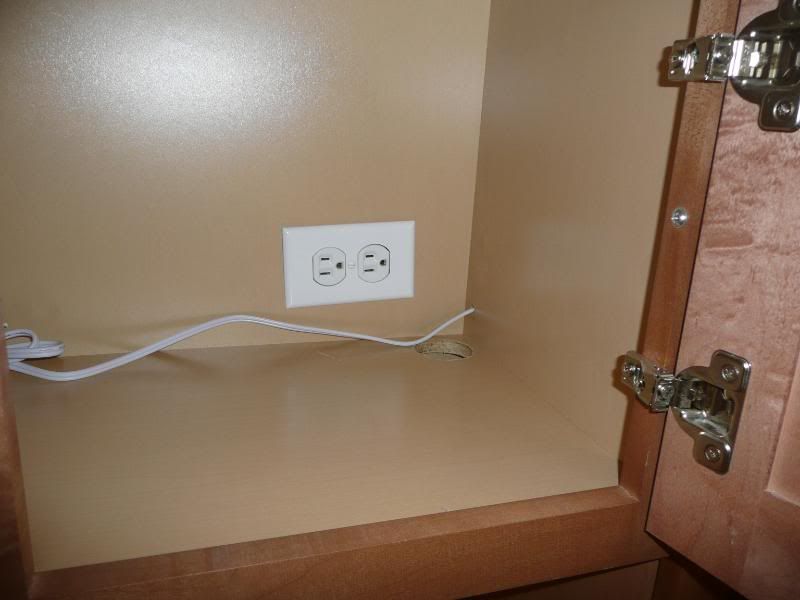 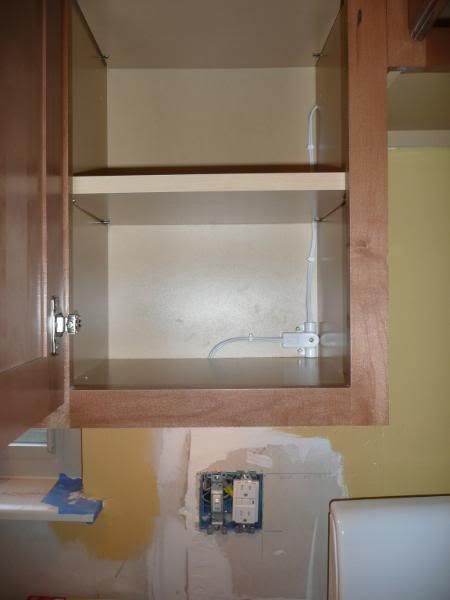 BAM 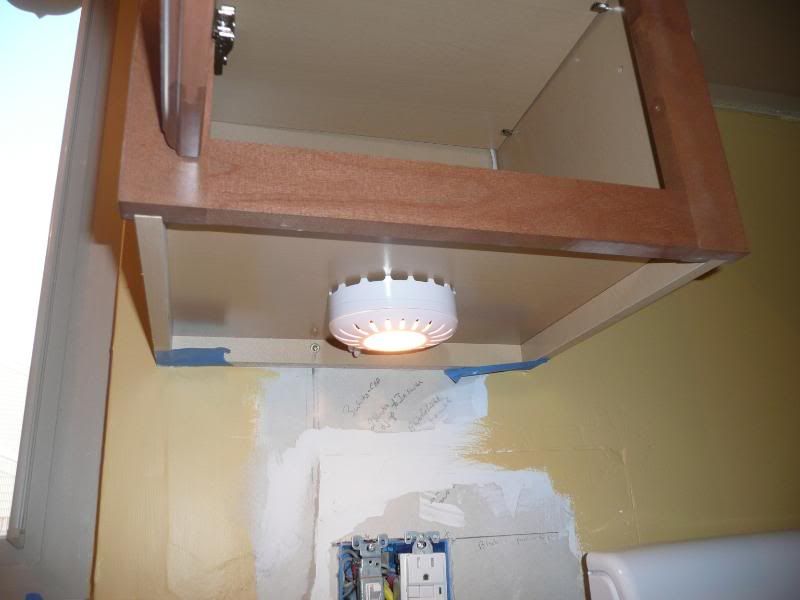 Repeated 6 times... keeping all the wires in the cabinets to keep a clean look outside... I need to get my pic of the finished wiring off the camera with the action shots of the lights. They turned out great! Wanted to button up the sink... installed the faucet 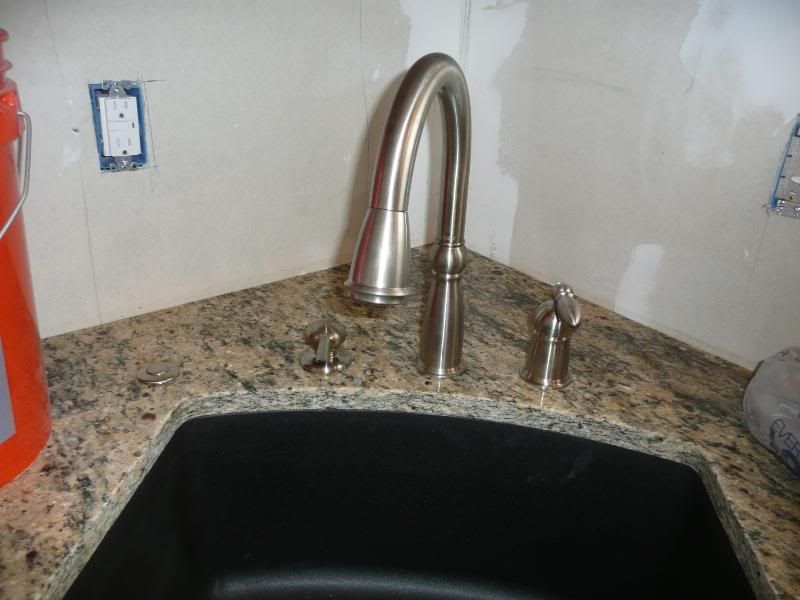
|
|
|

|
|
|
#98 |
|
Trip's Assistant
 Join Date: Feb 2008
Location: Imported from Detroit
Moto: 2009 HD Street Classic
Posts: 12,149
|
Installed the disposal, and plumbing
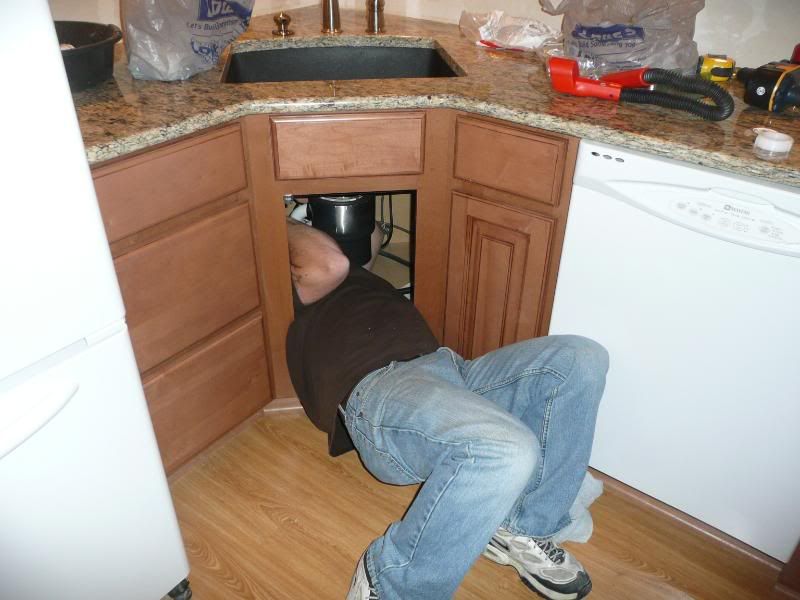 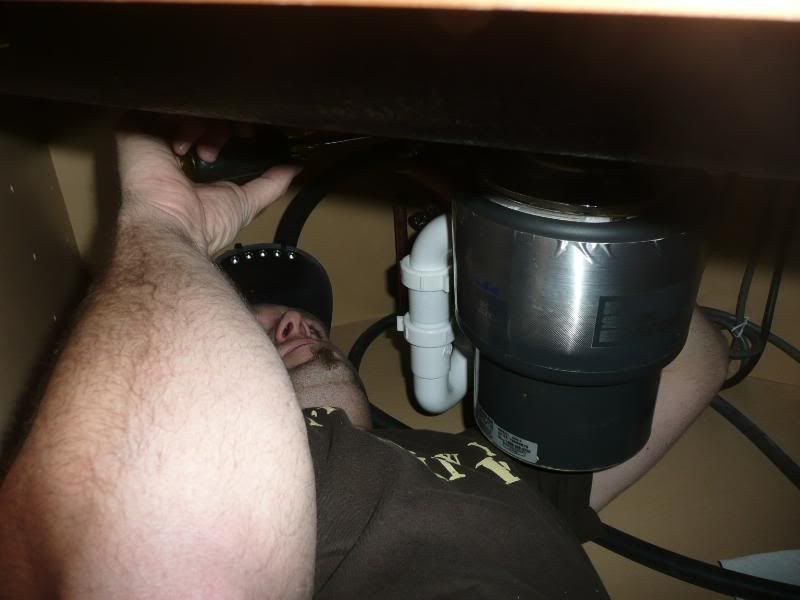 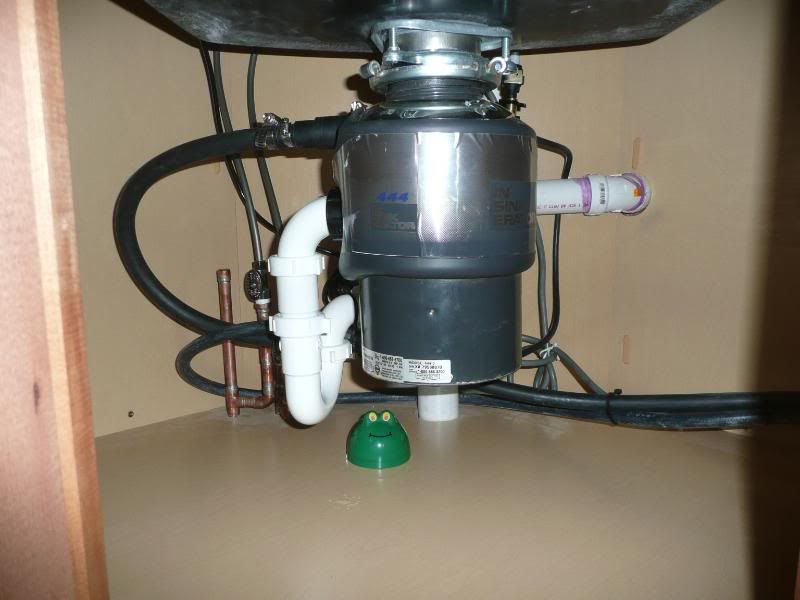 *leak frog standing watch While Natron and peanut watched.. what a GOOB  Look MOM it works! 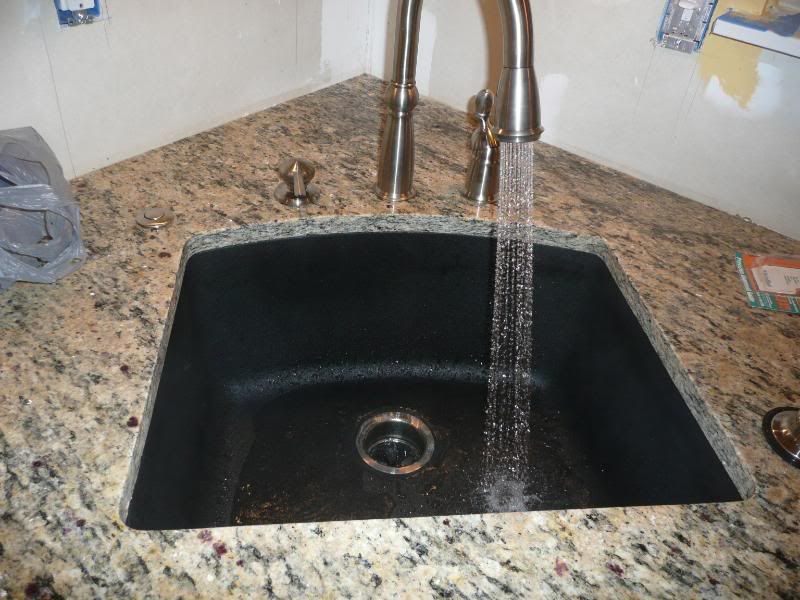 Now time for Uma to watch Peanut  After the granite install they unscrewed the pantry to give them some allowance to get the top in. So I need to re-adjust the cabinet and its fillers. 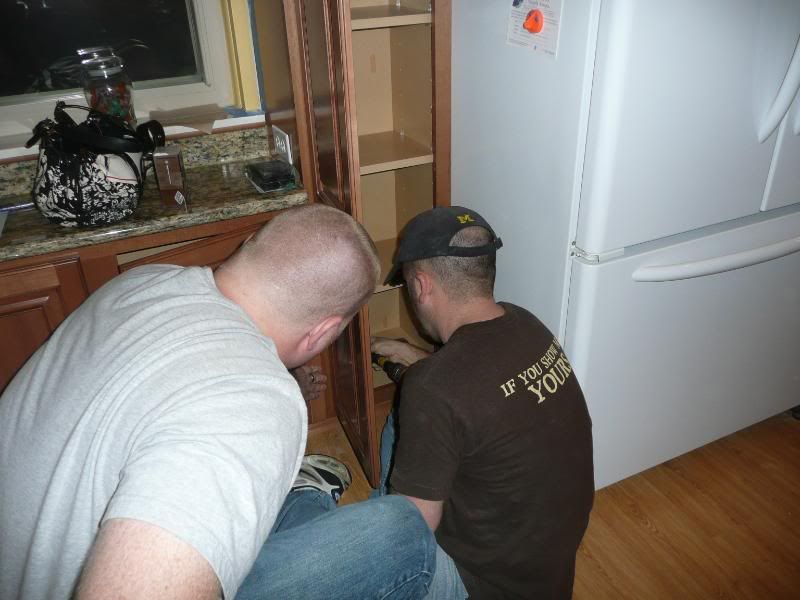 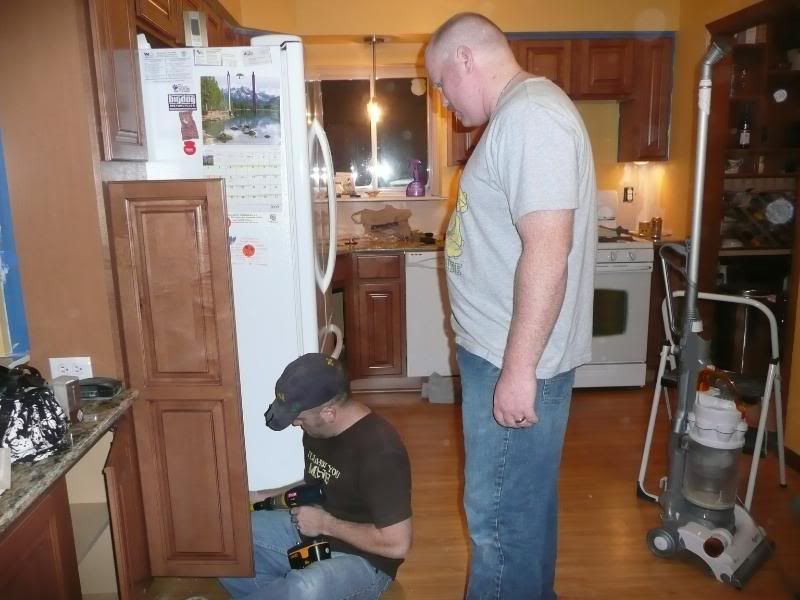 Then I installed the door knobs... 18 of them... 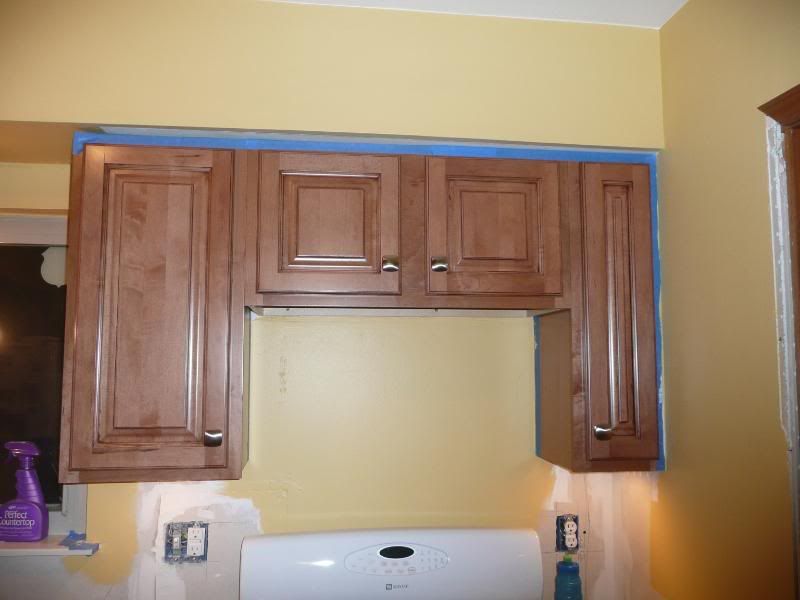 Now I also did another coat of paint, installed the drawer pulls. Almost ready for backsplash then all kinds of trim. Would have got more done but Brinks had a few vet appts. |
|
|

|
|
|
#99 |
|
Trip's Assistant
 Join Date: Feb 2008
Location: Imported from Detroit
Moto: 2009 HD Street Classic
Posts: 12,149
|
Well here's the pics from last week
I put on the drawer pulls. There are only 4 drawers in the whole kitchen. 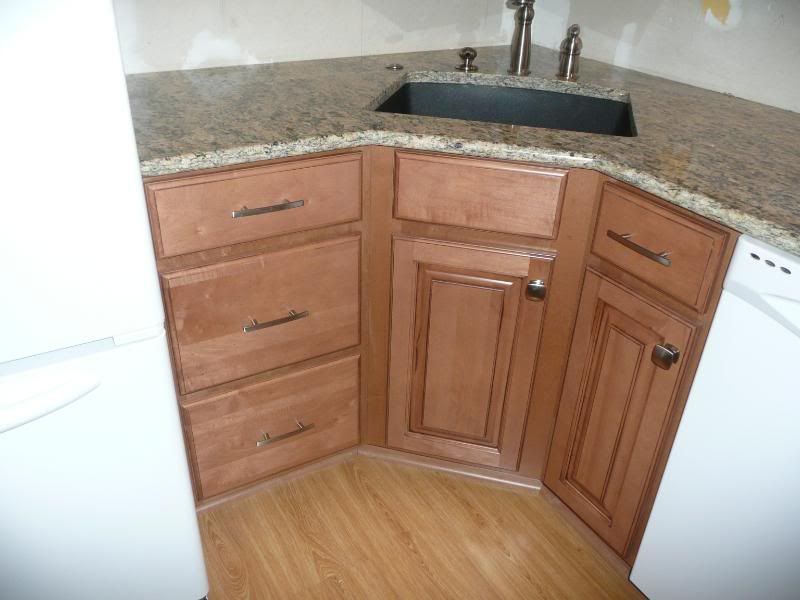 I installed the under cabinet lighting with carefull detail to keeping the wiring as hidden as possible. 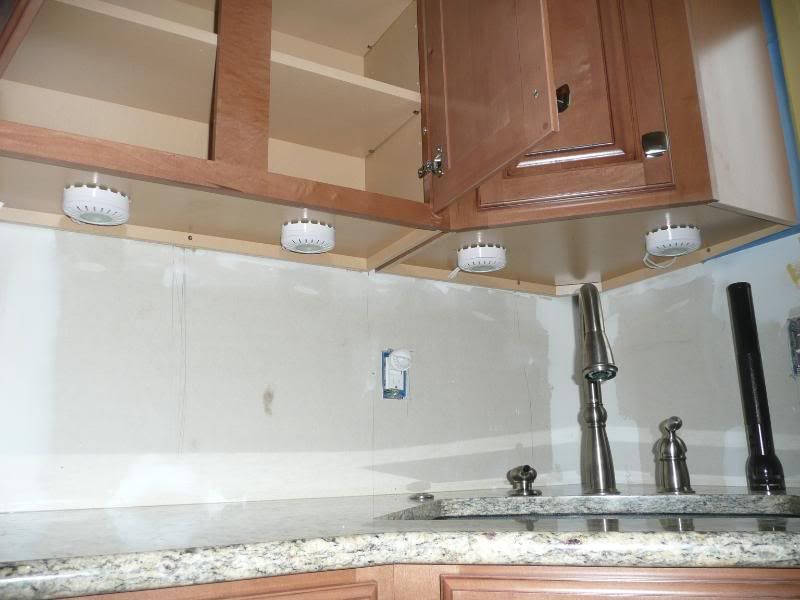 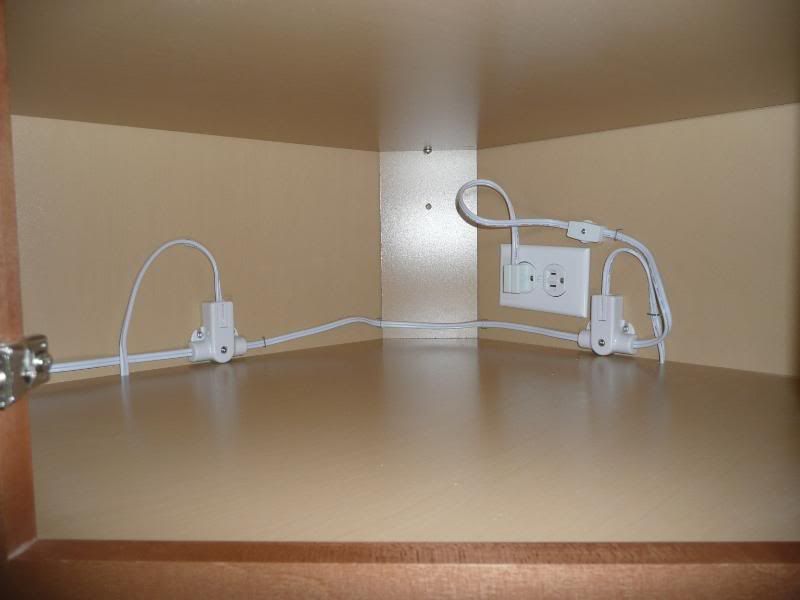 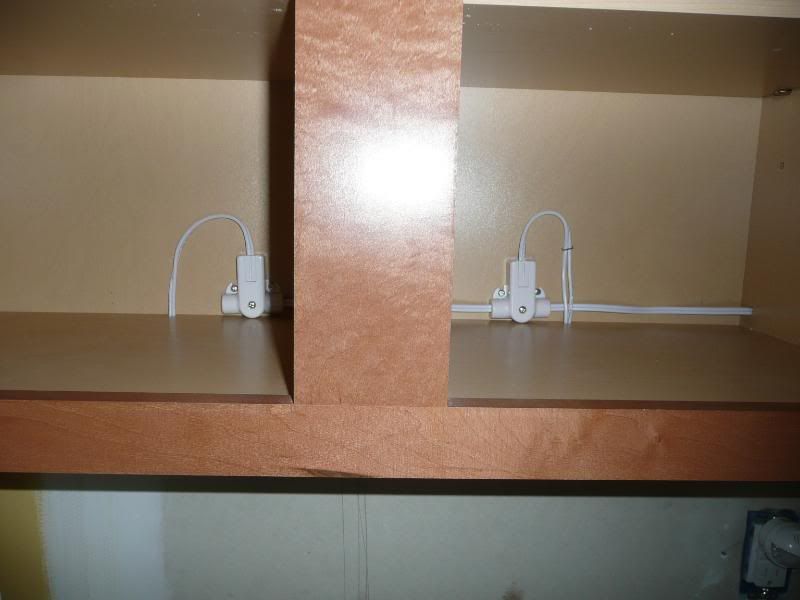 Some run this wiring all under the cabinet but I don't want anybody to see it. They won't see it inside the cabinet once the cabinet is populated so that is my angle. 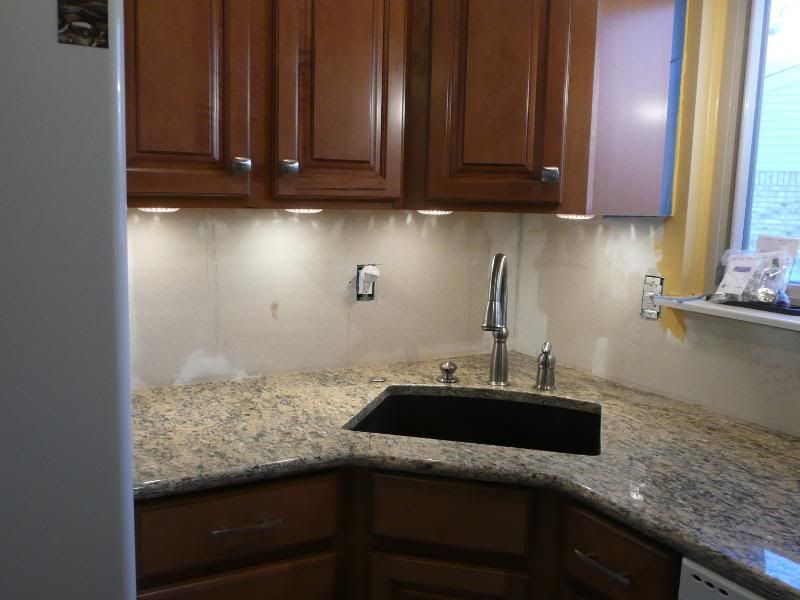 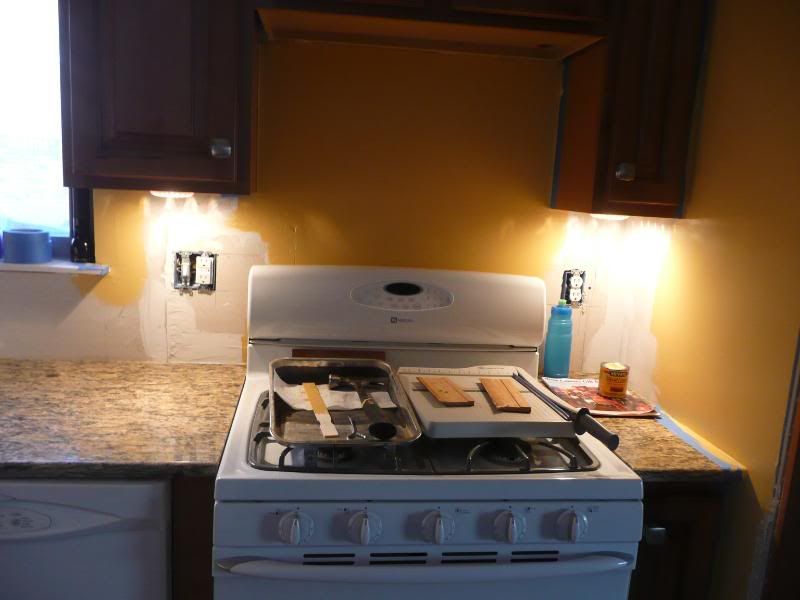 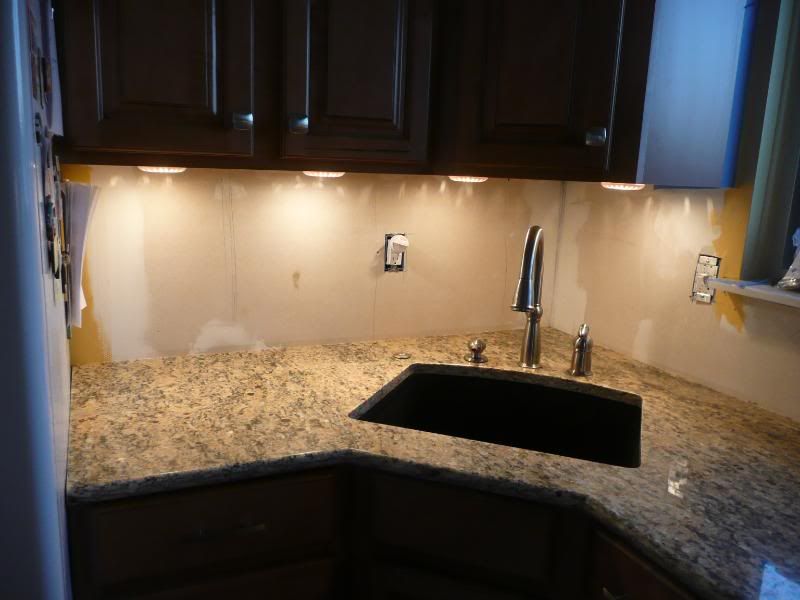 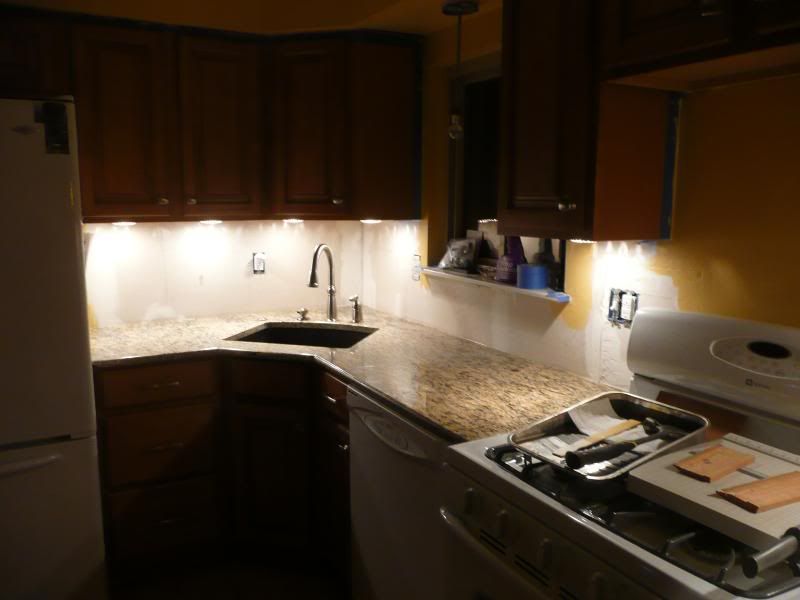 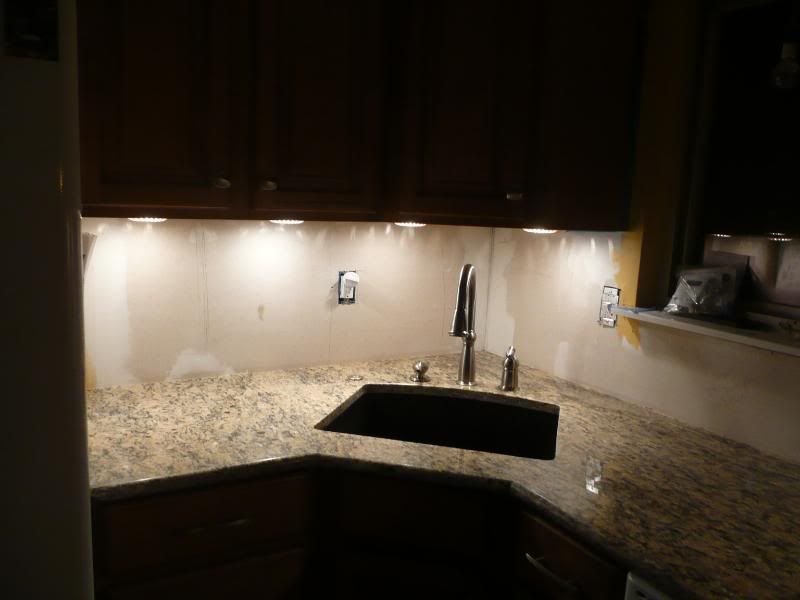 And of coarse as stated before they are on a dimmer 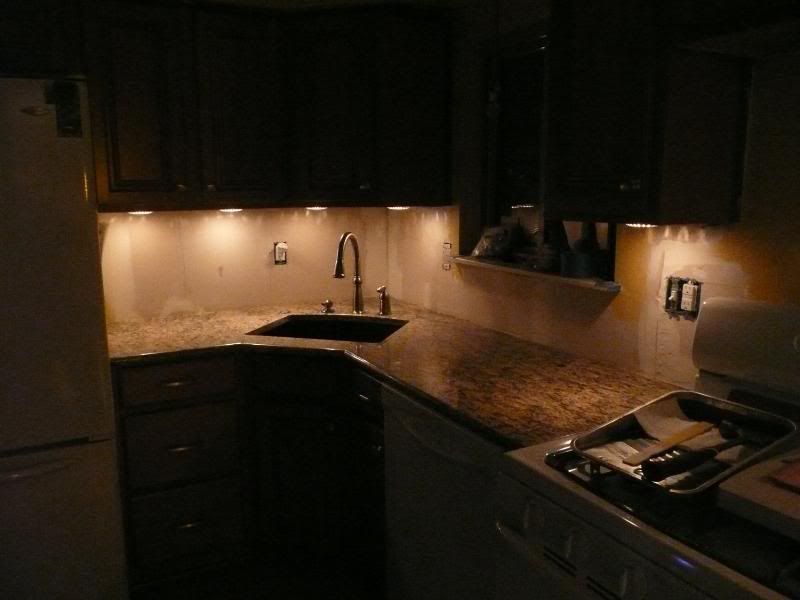 Then we put a new coat of primer on the ceiling. I think the house has, like many people wrongly do, primered white ceilings. Its not a good idea cause over a couple years it yellows and becomes an off white. You don't notice till you put new ultra pure white paint to it. I went with a good Behr Eggshell paint. Bought 5 gal pale of it so I have enough to do everything I want. Taped 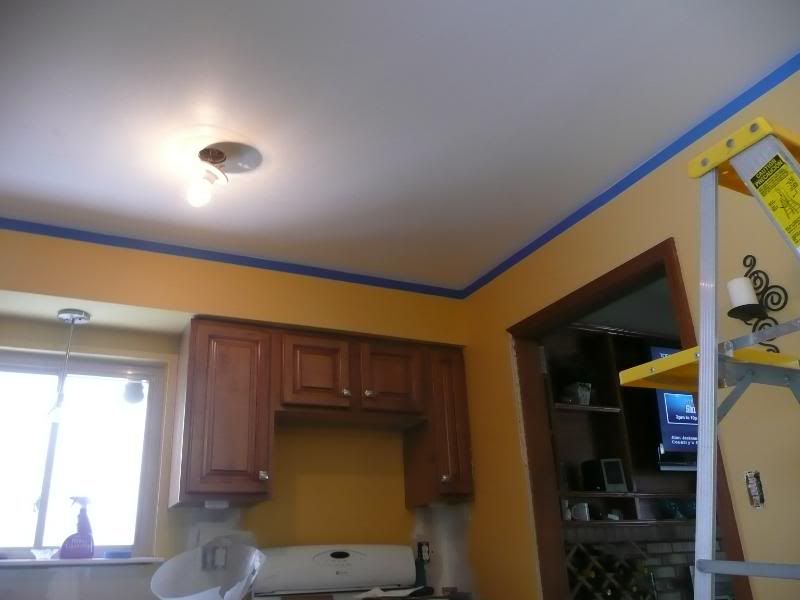 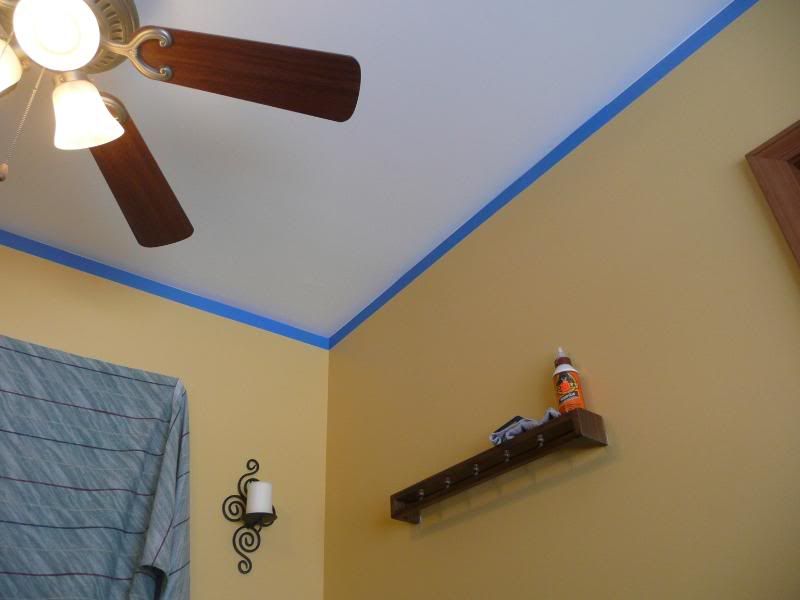 Mix 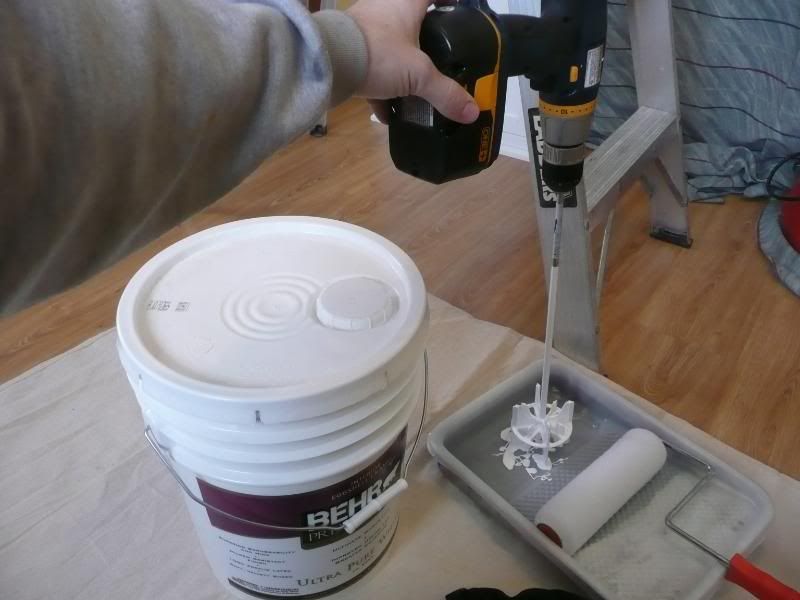 And painted.. Then we worked on the backsplash. Got it mocked up 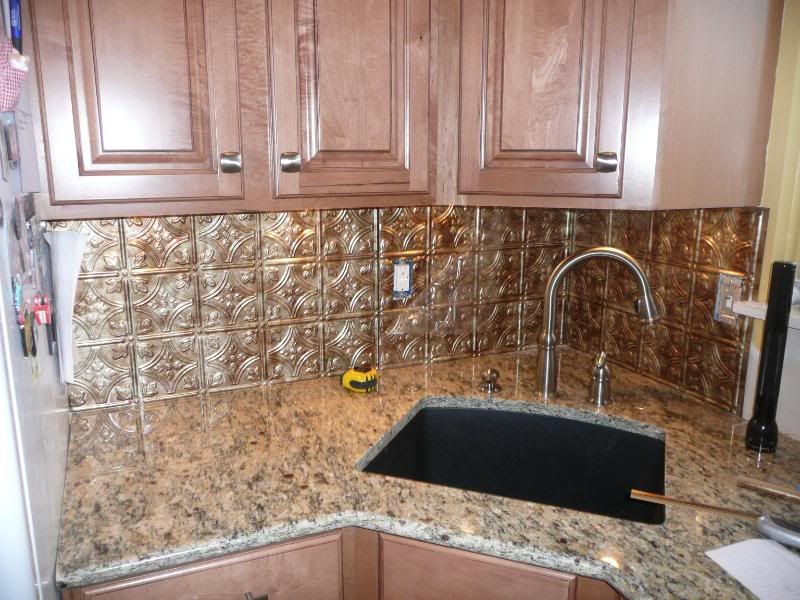 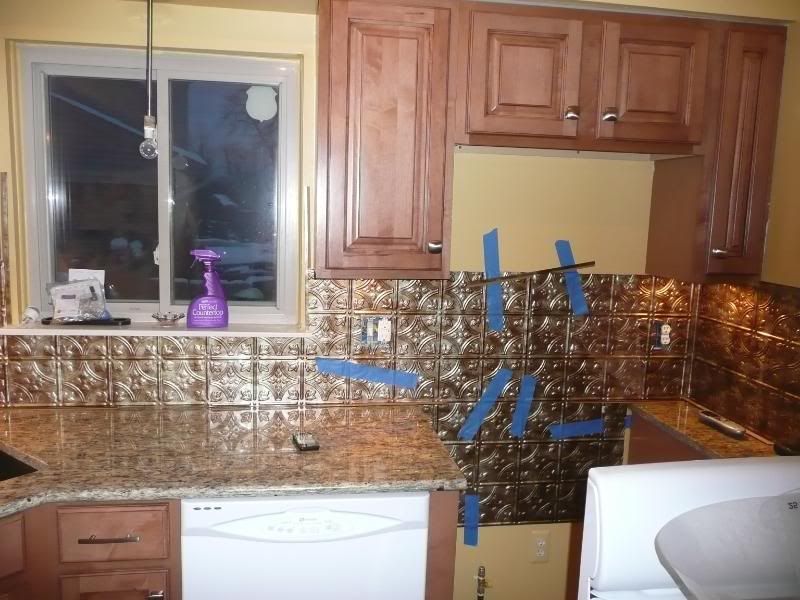 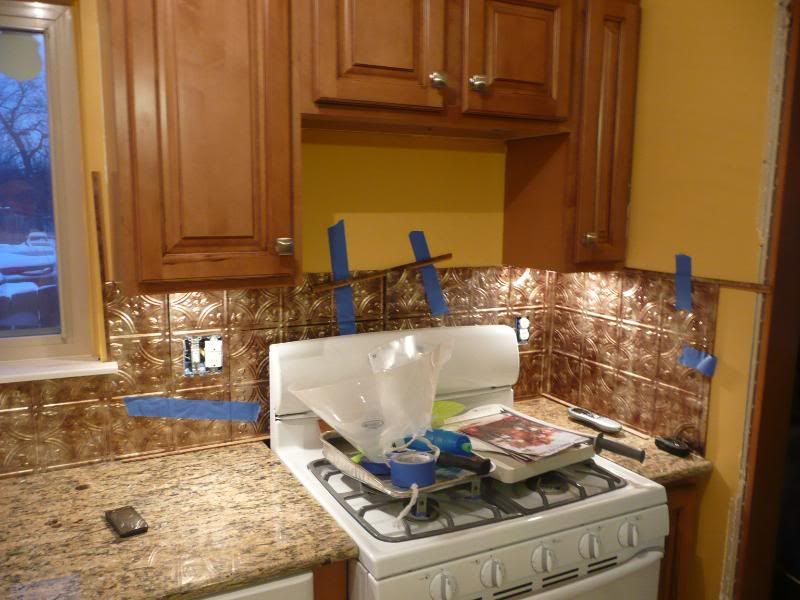 It went up pretty easy once you made the cuts a few times. This is one of those items that many weren't sure about but most like it and I think it turned out even better than I thought. Simply looks great if you ask me. The color really compliments the cabinets and granite. 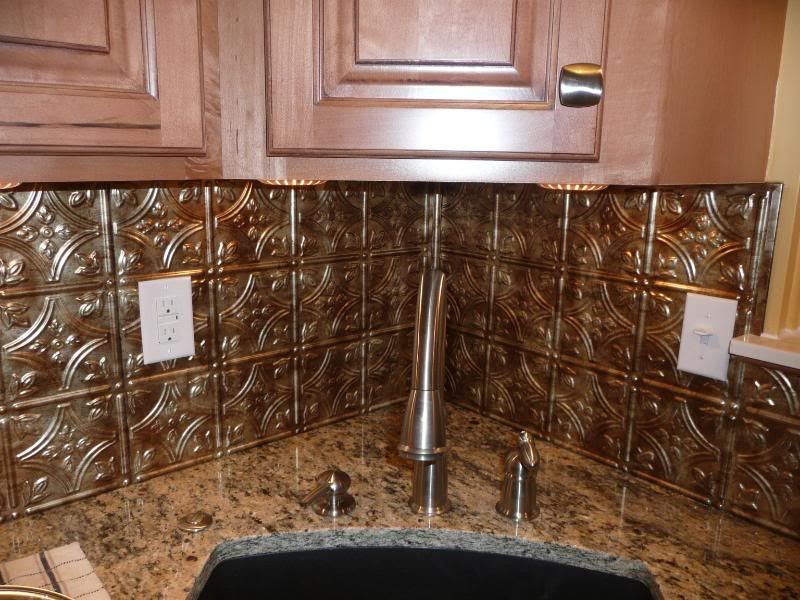 Hung the new ceiling light, and curtains. The curtains got put up with tension rods. Easy, adjustable and a clean install with the curtains on the inside of the window opening. 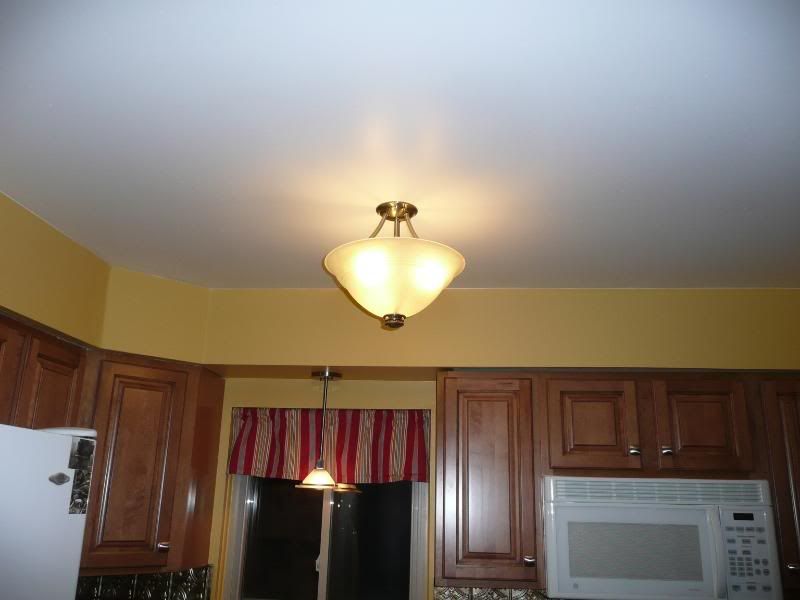
|
|
|

|
|
|
#100 |
|
Trip's Assistant
 Join Date: Feb 2008
Location: Imported from Detroit
Moto: 2009 HD Street Classic
Posts: 12,149
|
So this week I have been finishing up small details.
Was still battling the plumbing on the old disposal, just to find out that it don't matter. The damn thing was also leaking from itself and the bolts holding it together. This meant water was getting into the electronics and the motor. There was even rust on these long bolts which tells me it has been doing it for a while. We just never noticed in the old kitchen and didn't notice till now cause we never ran water in the sink long enough till I got the pvc water tight and not leaking. Out with the fuckin old!!! 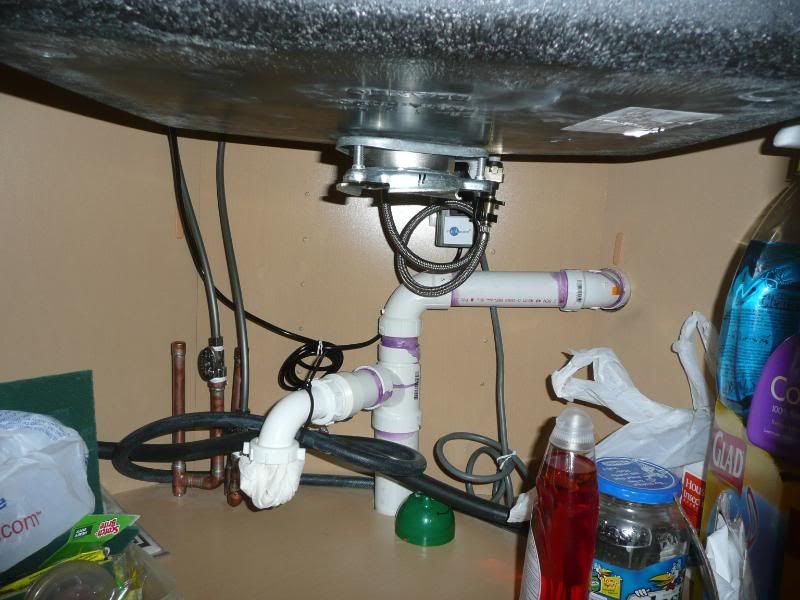 The new HOTNESS 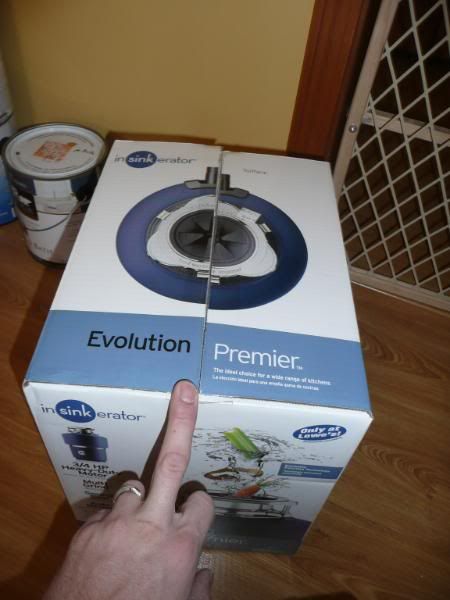 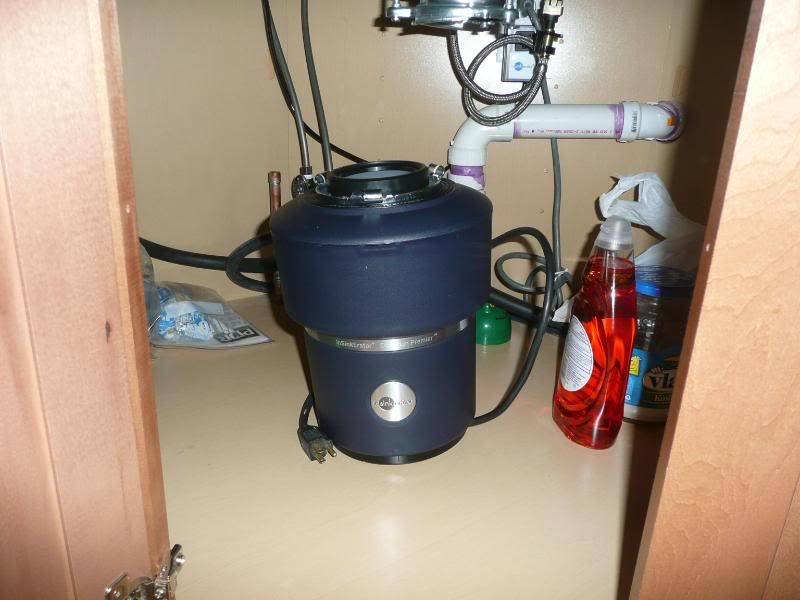 Stainless steel 2 grind chamber, 3/4hp, auto reverse for anti jamming, and ulta quiet tech. Let me tell ya... stainless... ok.... auto reverse for anti jamming... ok never jammed one... but the quiet tech... OMG you can't even hear the thing running over the sound of the water!!! It has a nice gasket at the flange with a better set of top rubber fingers, and a rubber pvc mounting system as you can see here... and I don't care... the quiet aspect is GREAT GREAT GREAT!!! 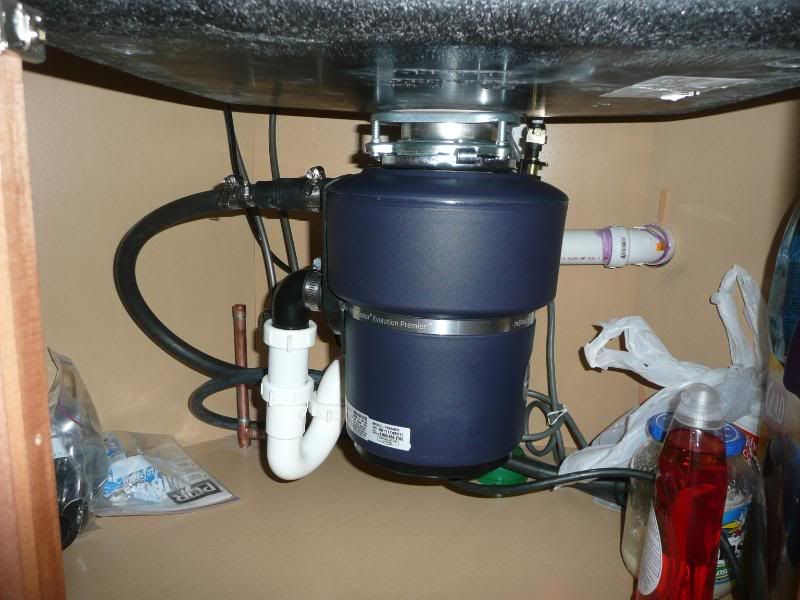 I installed the under cabinet trim which is great cause it hides the under cabinet lights more (as planned) and just adds that finished touch to the cabinets. Then the crown molding yesterday that you can see here with the under cab lights... The finished product.... 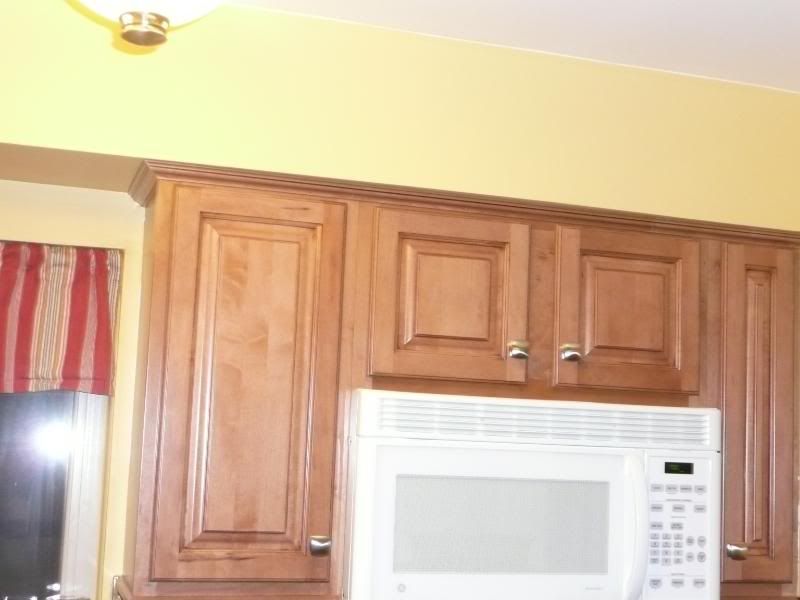 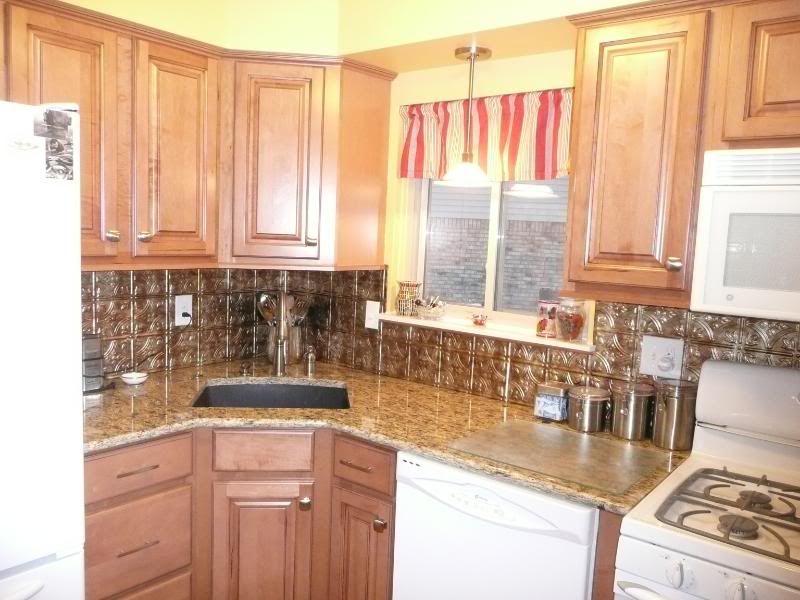 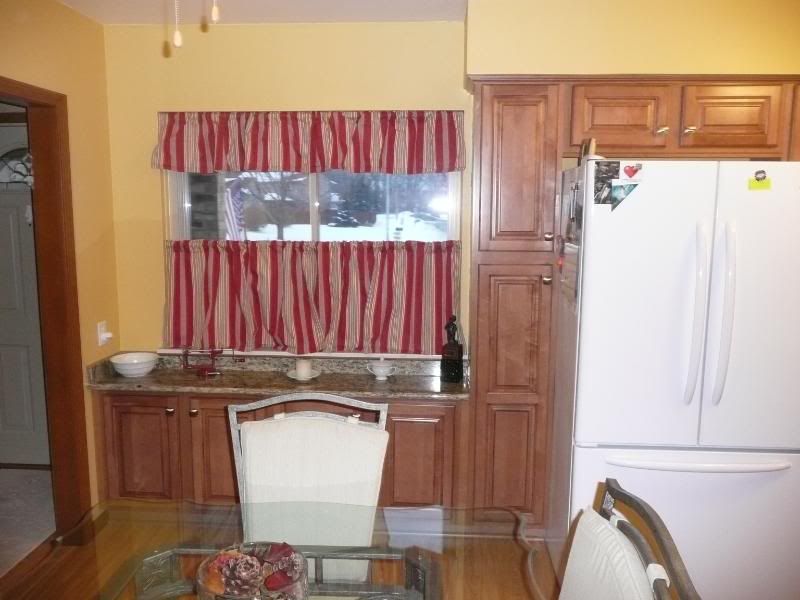 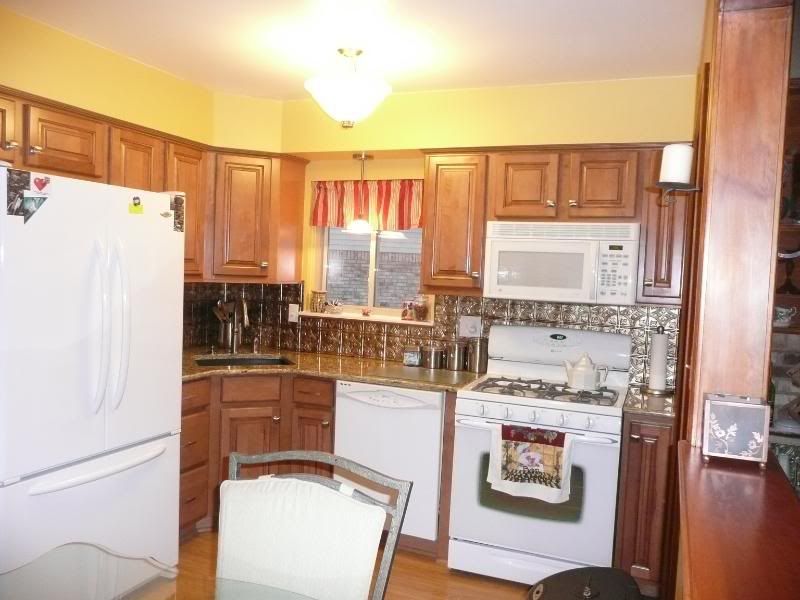 With the under lights on 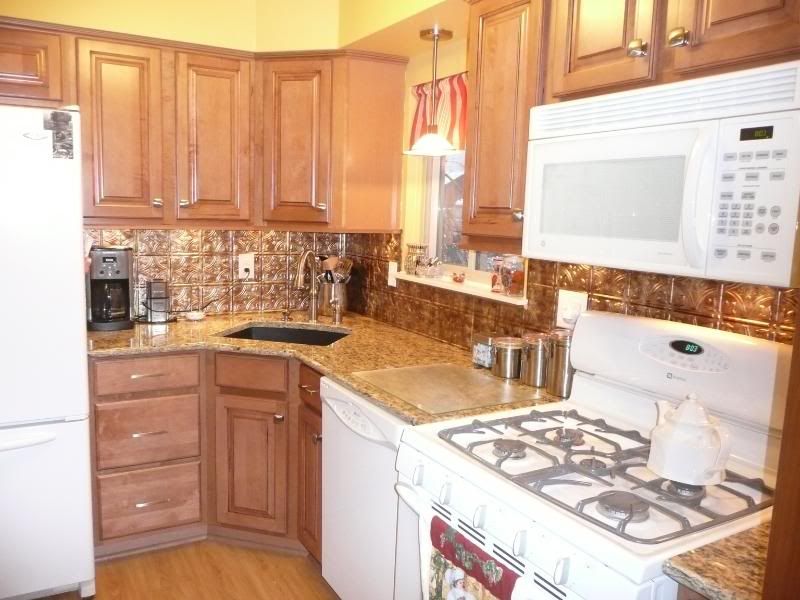 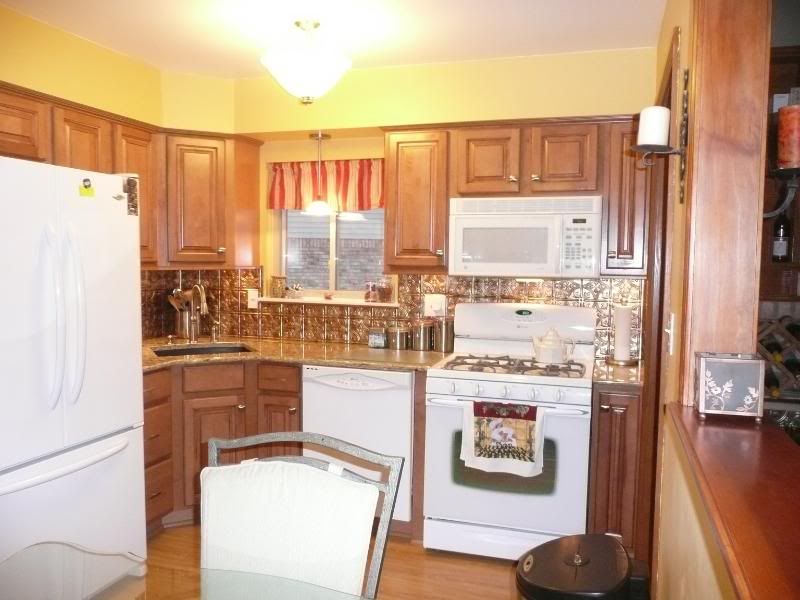 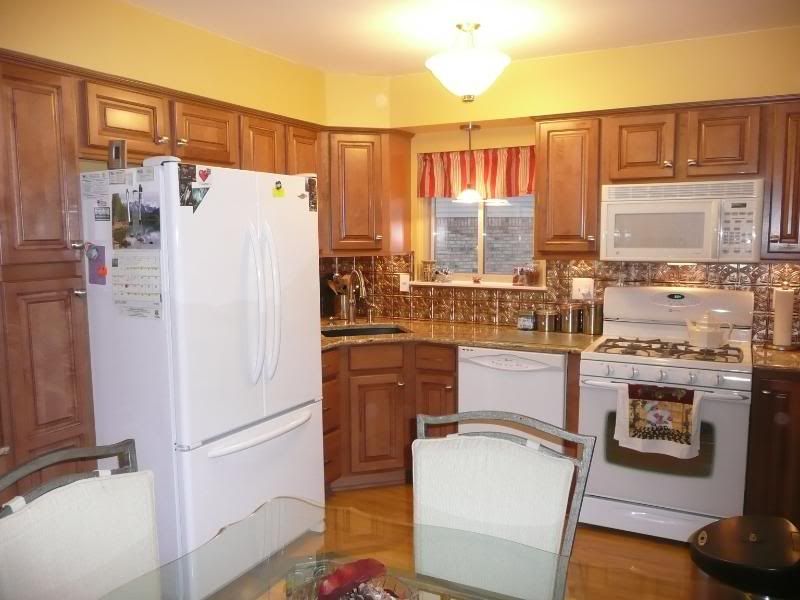 Room lights off  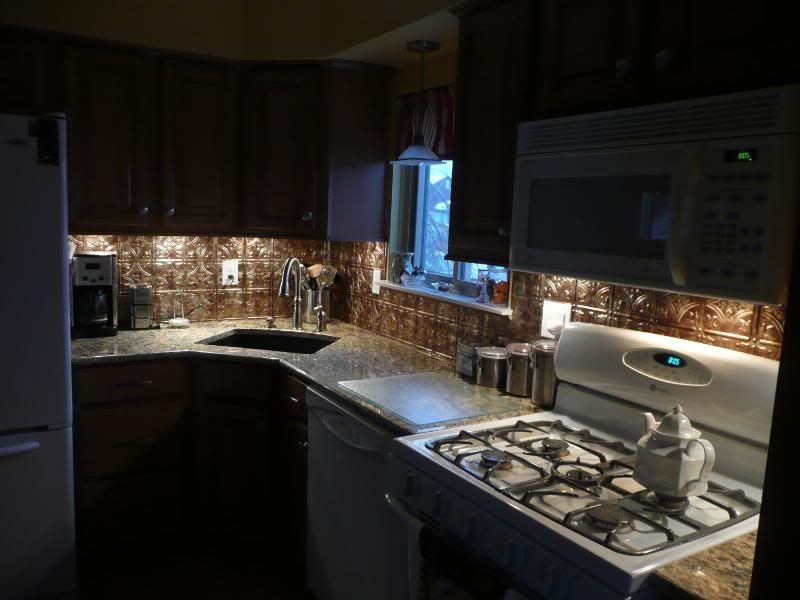 It has been a ruff ride due to some set backs with the sink, disposal, installation of the buffet/pantry area, and the dirty work of drywall. But its OH SO WORTH it! We simply LOVE IT!!! Just have one more piece of scribe molding to put up at the cabinet to wall joints that I'm waiting to come in. Also will fill my trim nail holes and color those once that comes in as well. |
|
|

|
 |
| Bookmarks |
|
|