
 |
 |
 |
 |
 |
 |
 |
 |
 |
|
|
#1 |
|
restorer of the original
Join Date: Mar 2008
Location: Zionsville,PA
Moto: '93 ZR1100 &'73 Kawasaki H1 500
Posts: 1,331
|
The original seat cover on my 1993 Kawasaki ZR1100 had seen better days. Since Kawasaki lists the seat cover as NLA, it was time to search the aftermarket. Corbin was a little too much to spend ( $413 ) so I went with a custom made cover. Since it's difficult to find parts here in the US ( other than tune up parts), I searched ebay and found a nice cover on the UK ebay. The seller was wijalis_company on ebay. Their UK ebay store is Wijalis uk . I purchased a black cover and custom ordered claret (red) piping and stitching. It was hand made in Poland.
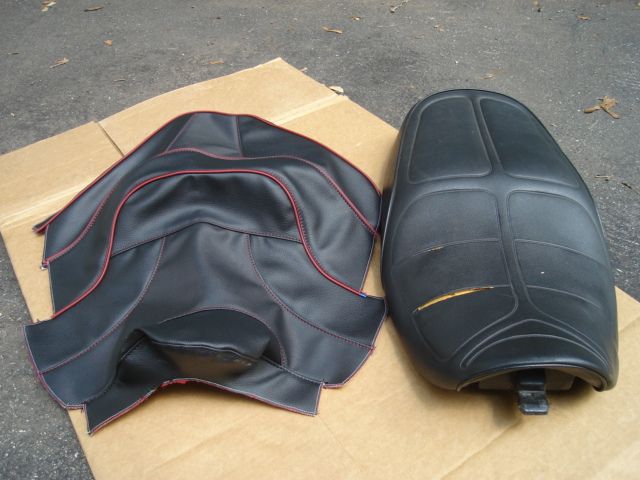 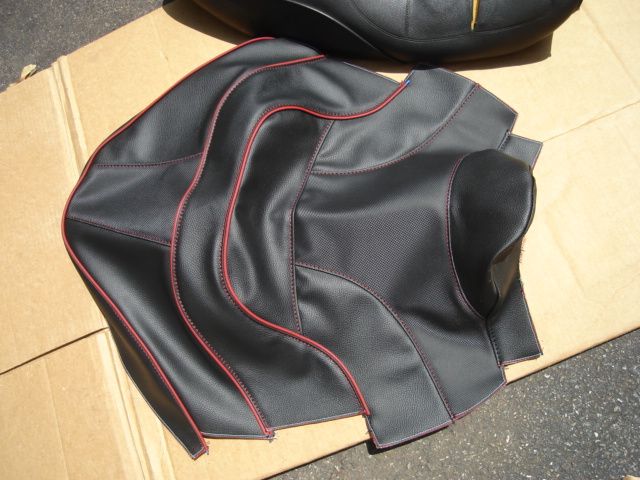 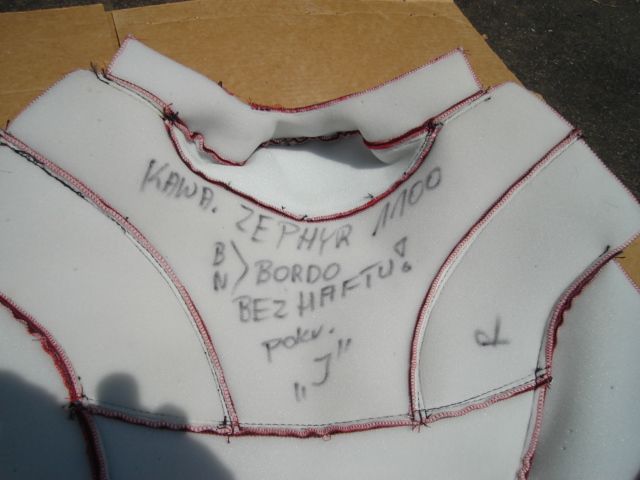 Tools used were a flat screwdriver and a T50 stapler using 3/8" / 10mm staples. If it's not a very warm day, A hair dryer or low temp heat gun may be needed. I removed my seat and sat it on the driveway in the hot sun with the new seat cover sitting on it for about 2 hours before I started. Temp was around 82*F. I did a rough test fit draping the cover over the assembled/original seat cover to verify it was close. Then using a flat screwdriver, I pulled all the staples out of the plastic seat pan. 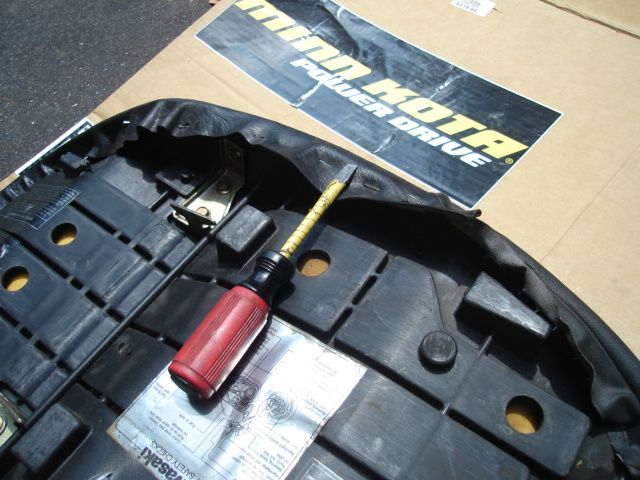 Next I put the front ( tank ) end of the seat cover on and centered the seat cover as best as I could. On my ZR1100, the front fits into the seat foam and rests against the tank so it took a little work to get that looking good. I pulled it back and wrapped the cover around the back and used one staple centered in the back. Flip it over and check your work. Next I smoothed out the seat cover and worked on the sides. Stapled one side with a single staple, pulled it tight to the other side and added one more staple. Flip it over and check your work. If you don't like it or have wrinkles, pull the staple and do it again. I did the same in the middle of the front half and then in the middle of the back half. Continue to flip it over to check the fit. 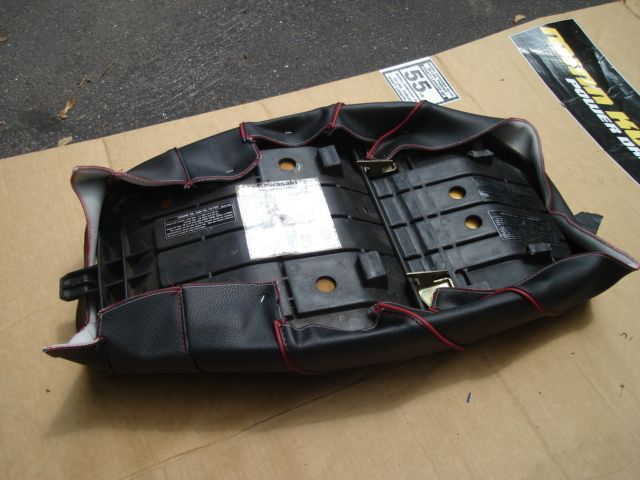 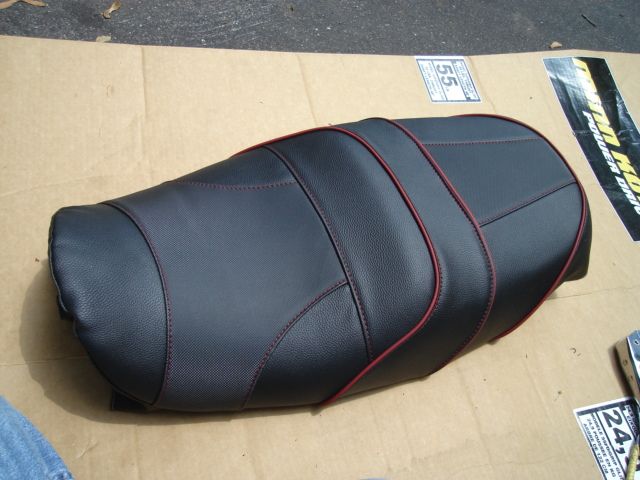 Once I was happy with how it fit, I worked in between all the other staples and stapled it about 1" or so. I like how it turned out 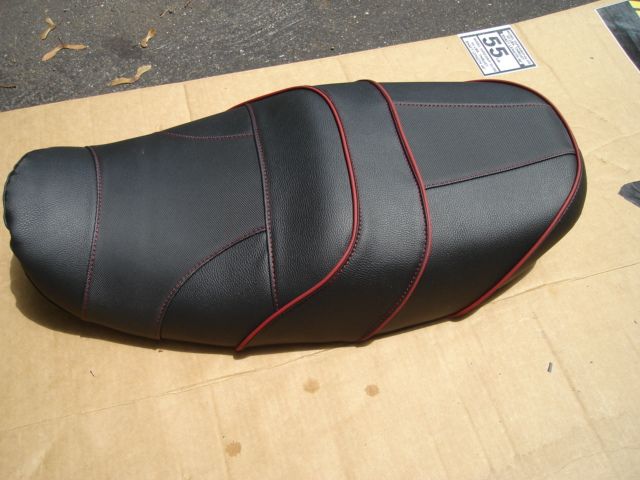 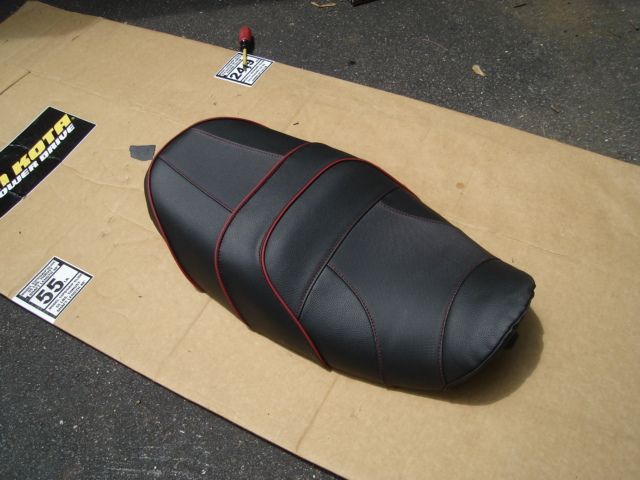 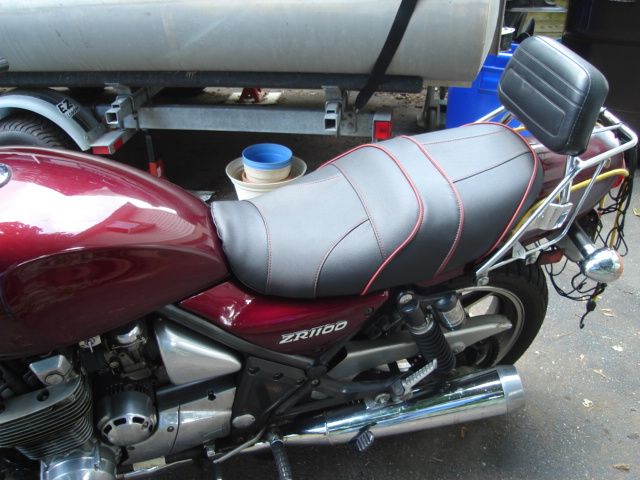 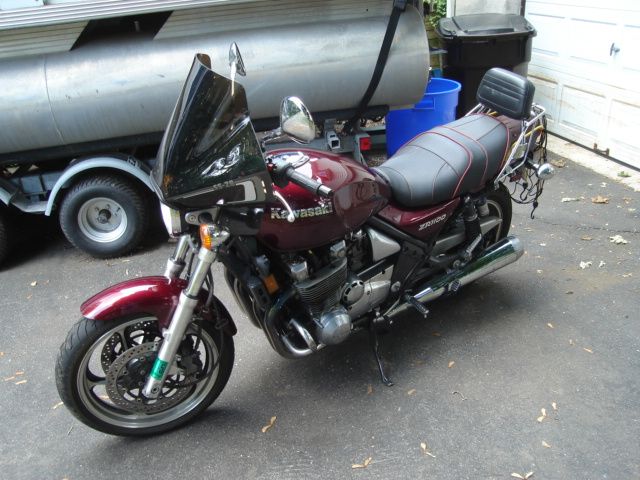 Total cost was 45 GBP for the custom made seat cover and 17GBP shipping ( TWO days from Poland to my house in PA ), total cost in USD was just over $108. I spent about a hour for the installation and this is the first cover I've ever done. Jeff |
|
|

|
|
|
#2 |
|
Ride Like an Asshole
Join Date: Feb 2008
Moto: nothing...
Posts: 11,254
|
Shit looks real nice... did you take the time to redo the foam? Like add some memory foam or gel or something?
|
|
|

|
 |
| Bookmarks |
|
|