
|
 |
 |
 |
 |
 |
 |
 |
 |
 05-12-2008, 05:22 AM
|
#1 |
|
flyin high

Join Date: Mar 2008
Location: cali
Moto: 10speed huffy w/cards in the spokes
Posts: 2,318
|
i dont like the word blog-im gonna call it a picture story....
i built my bike 6yrs ago, wrecked it two years ago, patched it back together last year, tore the engine apart this year and now im really re-building it for the last time- i hope. |

|
|
05-12-2008, 06:11 AM
|
#2 |
|
flyin high
Join Date: Mar 2008
Location: cali
Moto: 10speed huffy w/cards in the spokes
Posts: 2,318
|
i made a slideshow, but it didnt load-invalid file-so ill just post a bunch of picds to catch everyone up. the beginning, to the end, to the wreck, and the last pic is the useless engine (busted cases) and frame (bent to all hell).
-the attachments posted slightly out of the order i uploaded em-u guys are smart, figure it out Last edited by Dnyce; 05-12-2008 at 06:14 AM.. |
|
|
|
05-12-2008, 06:46 AM
|
#3 |
|
flyin high
Join Date: Mar 2008
Location: cali
Moto: 10speed huffy w/cards in the spokes
Posts: 2,318
|
from there we have the ground up re-do. i actually did this part last year, ran it once, and it sat in a corner til this year, and i did it all again bcuz it was so dirty/covered in overspray and cobwebs.
started with this 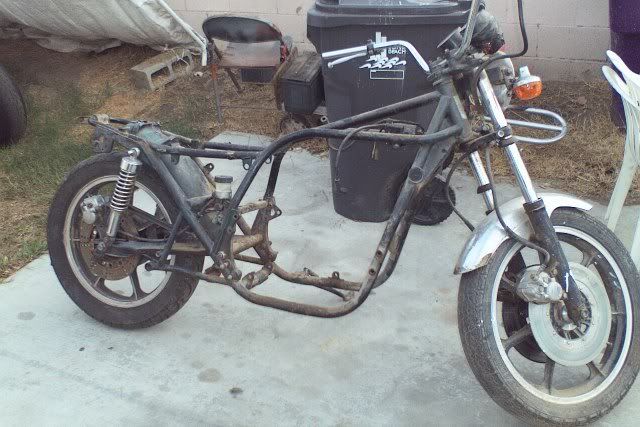 stripped it, raked the neck 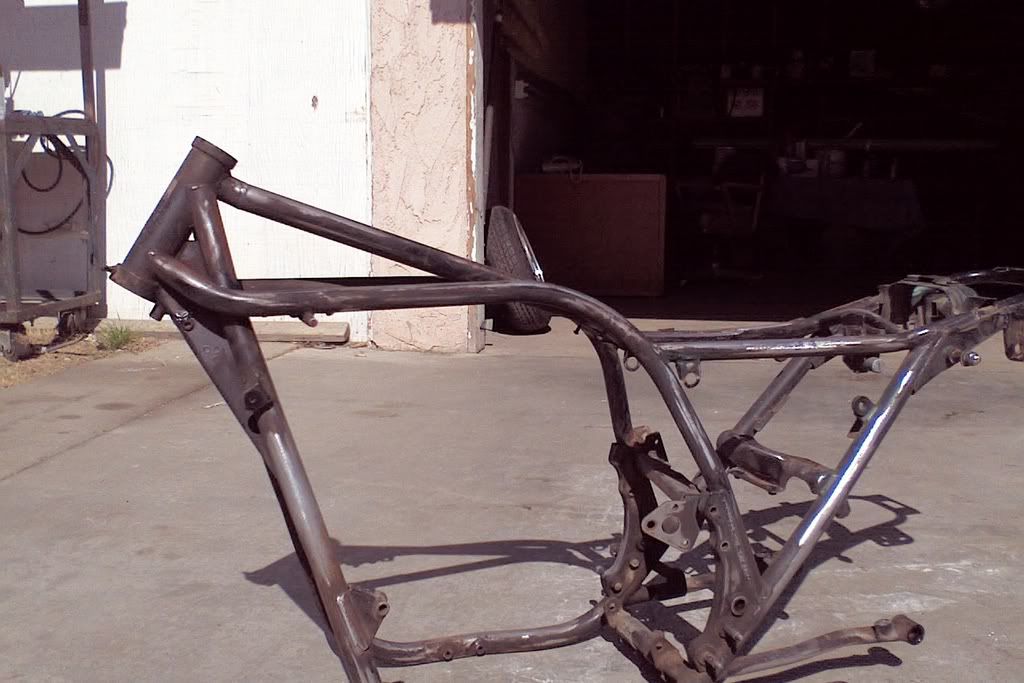 rattle can black and im on my way 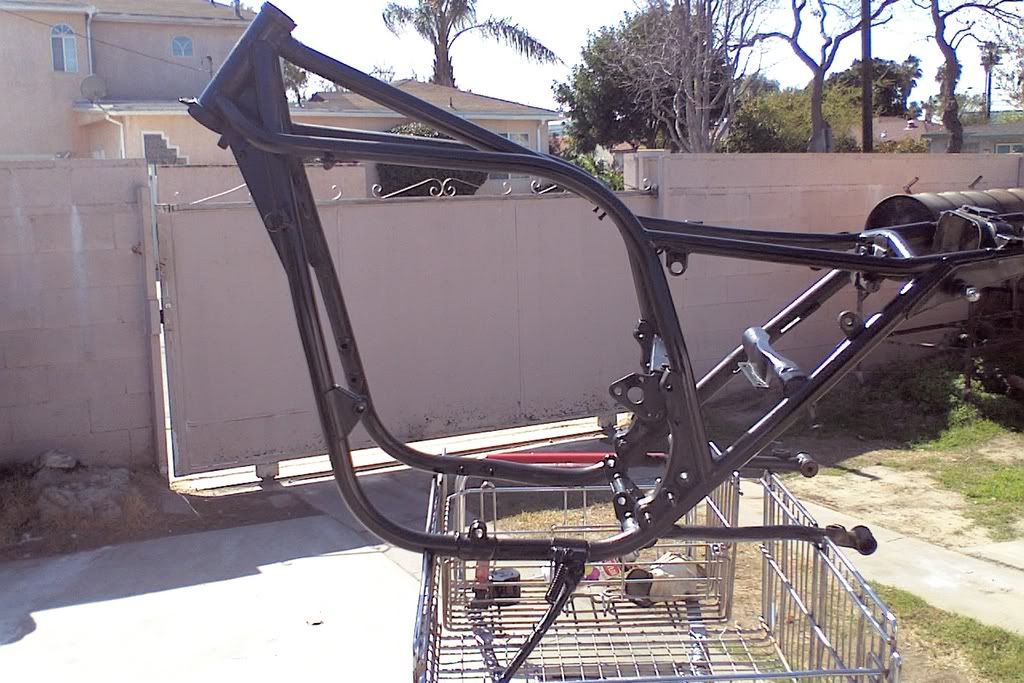 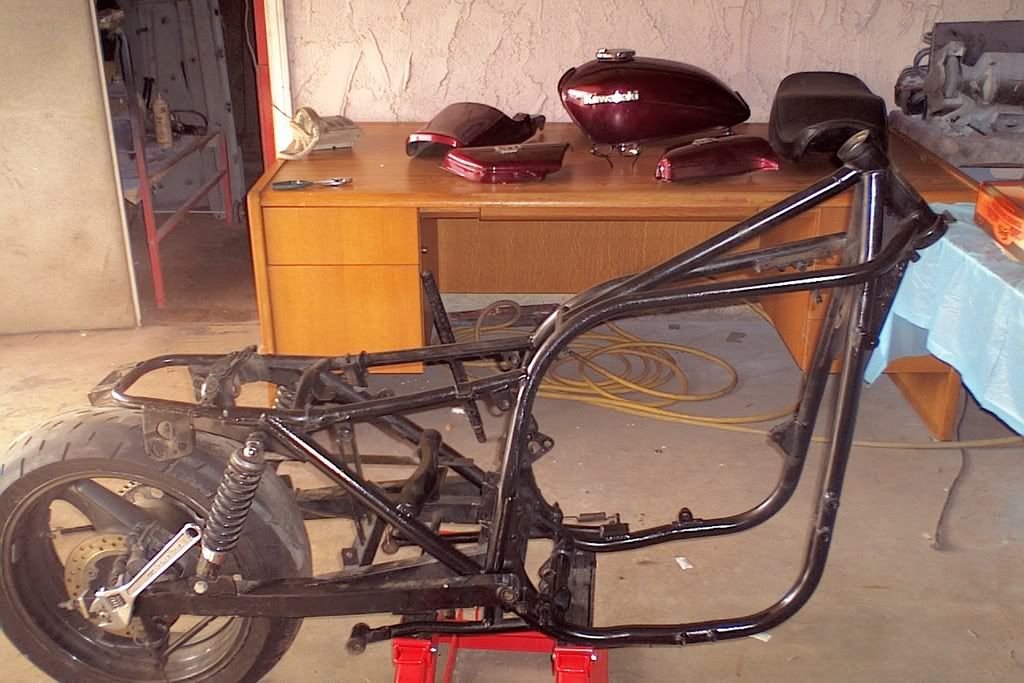 got it rollin 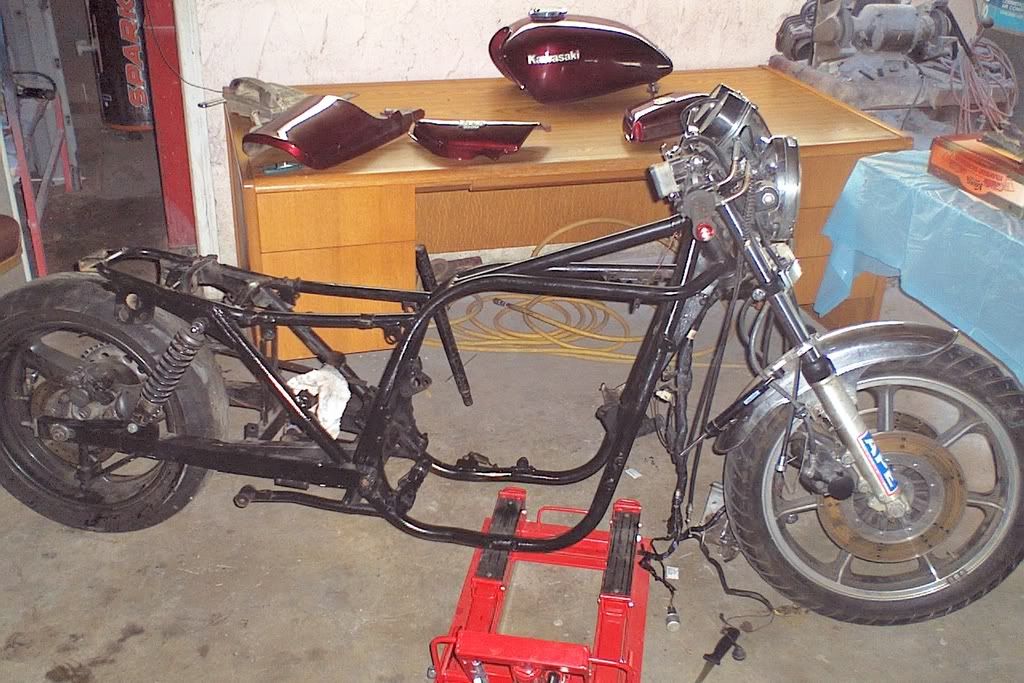 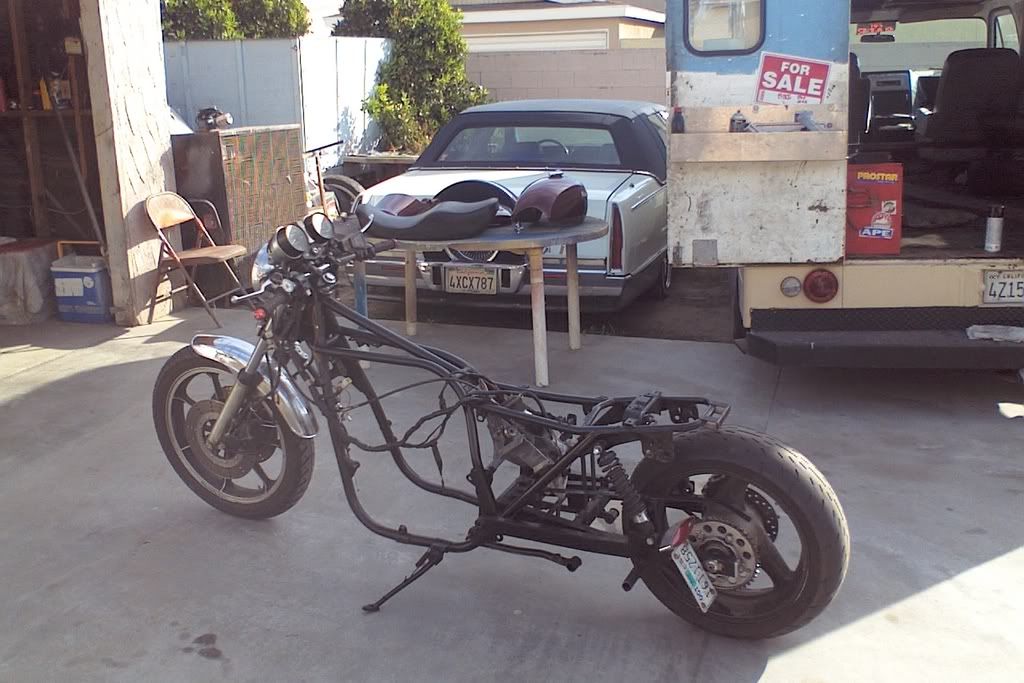 tossed the motor back in...came back out later.dammit 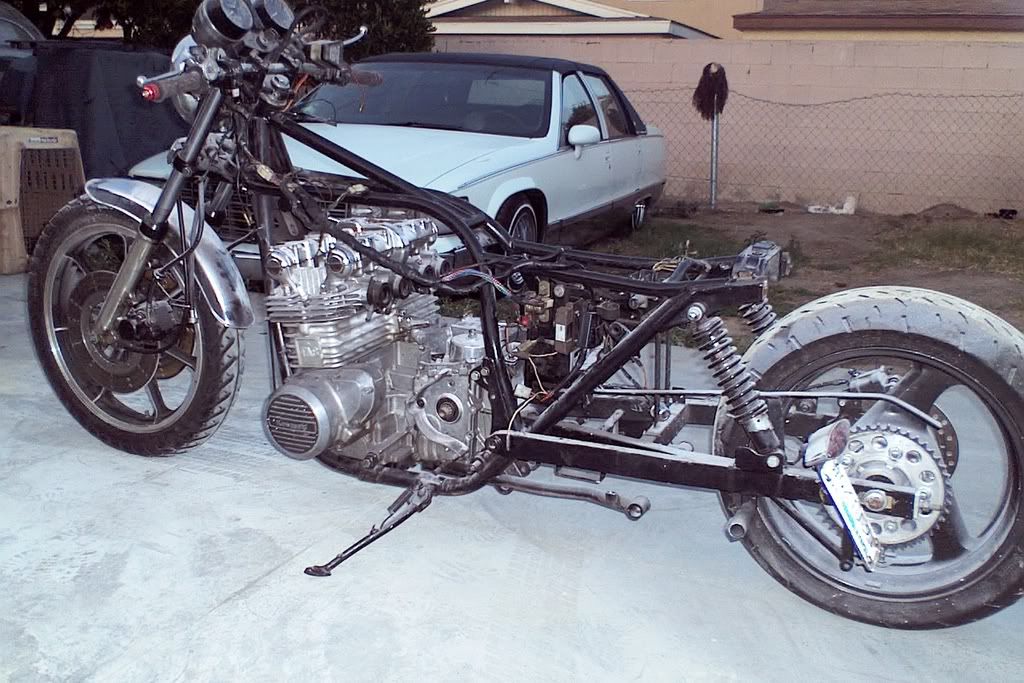 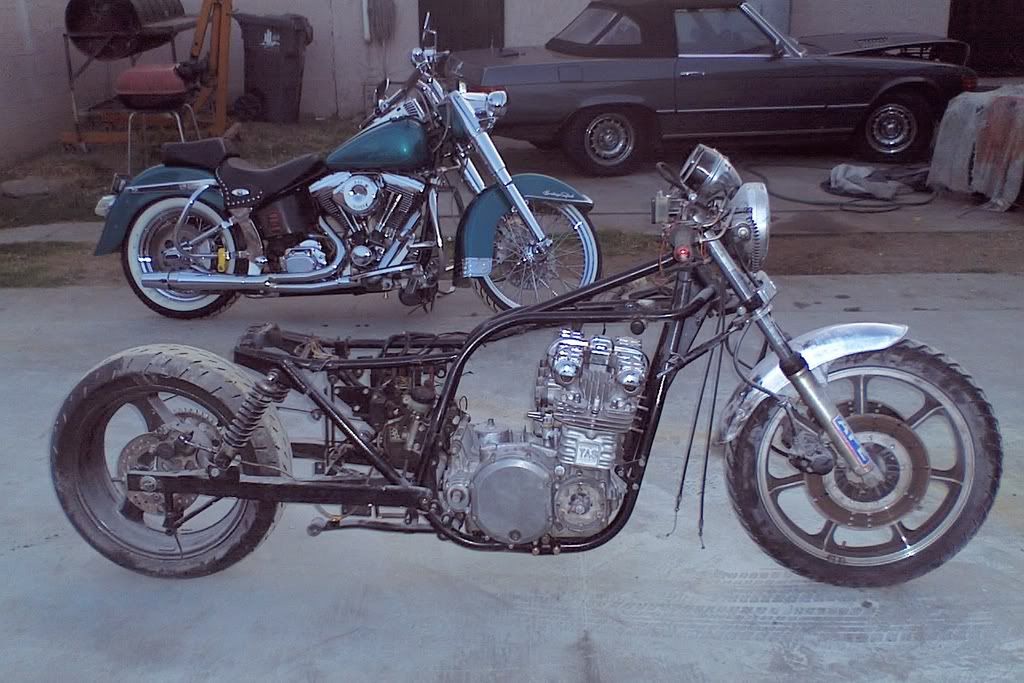 and done. looks like it did before i wrecked it, just dustier lol 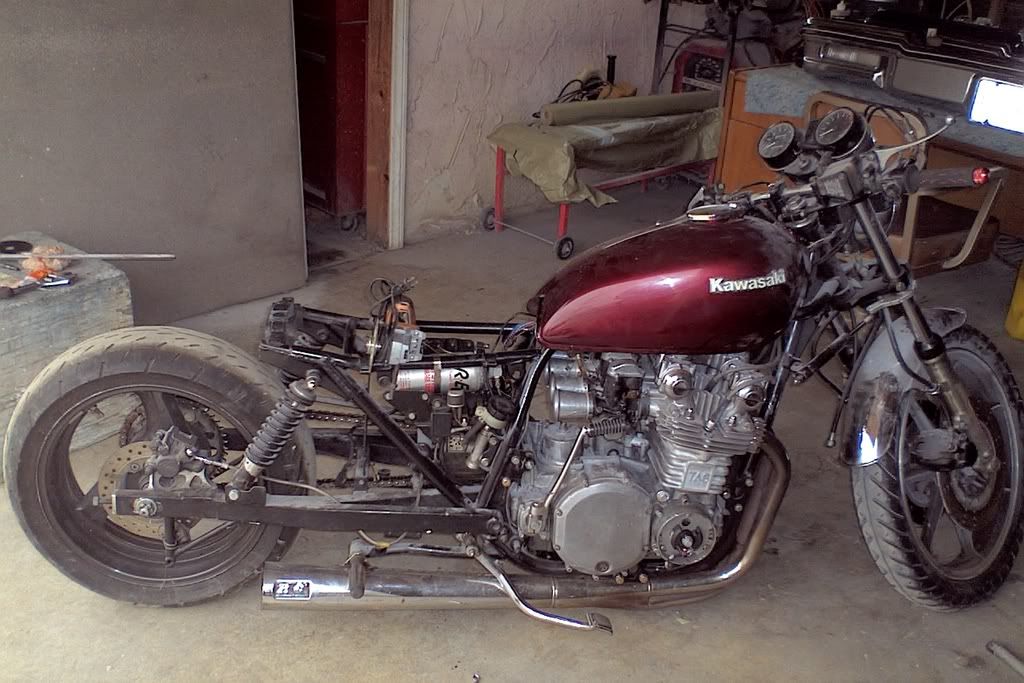 and thats where i started in april. tore it back down to the bare frame, painted it again, replaced the fork seals, lowered the forks internally, new steering bearings, sanded it, painted it, some other stuff. didnt take pics cuz all this happened in about four days-super thrash to get ready for a race that i didnt go to because i couldnt take the day off work.  still to come are clip-ons, new exhaust, custom emblems, and maybe im gonna re-do my taillite/license plate setup. i got a few pics on my fone of taking the motor back apart (somehow a oil ring was overlapped when it was put back together), had to pull the head and the block, blah blah blah. ill find em and post em later |
|
|
|
05-14-2008, 01:17 AM
|
#4 |
|
flyin high
Join Date: Mar 2008
Location: cali
Moto: 10speed huffy w/cards in the spokes
Posts: 2,318
|
got my clip ons today-thx to ceo and trip for the woodcraft tip. went with some gold grips, should match the emblems/bike number(gold leaf) when im done. i gotta get my pipe ceramic coated, and measure 4 my throttle cables tomorrow. more pics then.
and just for the record, i did ride the damn thing, stretched and all. check the strips yo lol |
|
|
|
05-20-2008, 01:40 PM
|
#5 |
|
flyin high
Join Date: Mar 2008
Location: cali
Moto: 10speed huffy w/cards in the spokes
Posts: 2,318
|
got some brand spankin new gloves from nts today-fit just alil snug, should break in and fit perfect. tryin to work a deal on a daytona 675, get my twisty ridin on.
that is all. |
|
|
|
05-31-2008, 12:46 PM
|
#6 |
|
flyin high
Join Date: Mar 2008
Location: cali
Moto: 10speed huffy w/cards in the spokes
Posts: 2,318
|
a used daytona is hard as a mofo to find-so im trying to come up with a good reason to spend 10k on a brand spankin new bike. they're like 9800 otd, so i figure even after i talk the guy down some, buy a jardine slip-on(sounds sick, and im not payin 1k for the even more badass shark exhaust), after interest, im out of 10k what a dilemma in this economy.
anyway back to the kawi-pics were promised had to get heavy duty cylinder studs for it, and some how when it went back together the oil ring on cyl #4 got overlapped. smoked like a train when i started it. so teardown... i was workin fast, so i snapped a few camphone pics-low quality but oh well. also you get to see a sneak peek of the paint. low light camphone does it no justice, trust me. hasnt even been colorsanded and buffed yet either body pieces off 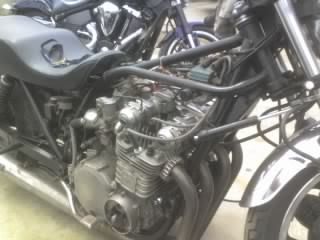 cams, head off 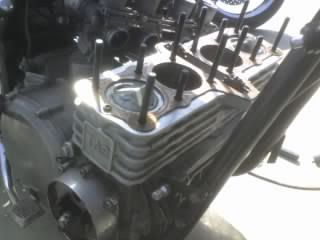 block off 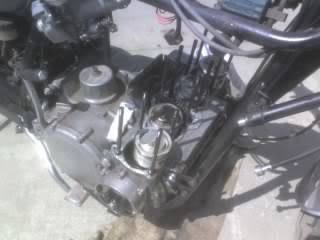 and after that i totally 4got about pics, i fixed the ring and started throwing it back together. ran outta time(had2go2work) b4 i could totally finish that day, still had to degree the cams and put the carbs back on. 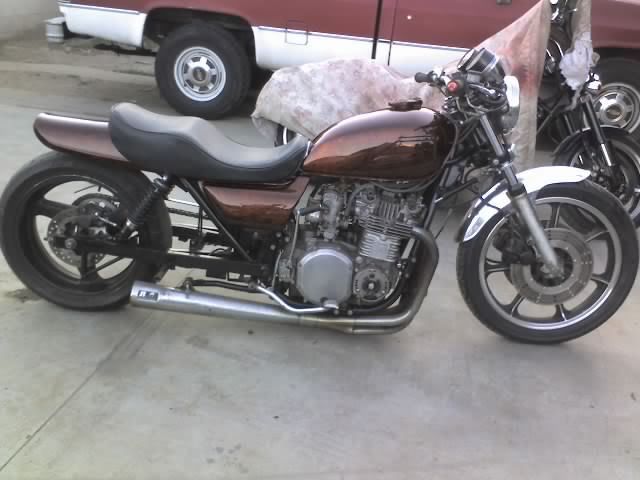 teaser paint pics 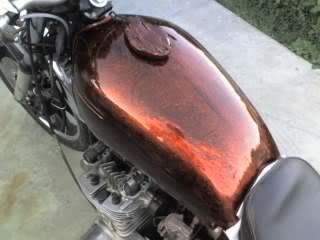  next time i should have a triumph, or a 97% complete kawi with clear pics. im gona do the graphics and engine polishing last, and still debating on fender and fork colors. already mounted the new pipe, made a new brake pedal for the different style of pipe, and playing with clip on placement. dyno day july 12-13 i'll leave you with the words of the great "ladies man"- 
__________________
"Racing Is Life, Everything Before and After is Just Waiting" Steve McQueen Last edited by Dnyce; 05-31-2008 at 01:37 PM.. |
|
|
|
06-03-2008, 03:16 AM
|
#7 |
|
flyin high
Join Date: Mar 2008
Location: cali
Moto: 10speed huffy w/cards in the spokes
Posts: 2,318
|
fuckin emblems are $175. vintage apparently means expensive.
__________________
"Racing Is Life, Everything Before and After is Just Waiting" Steve McQueen |
|
|
|
07-10-2008, 02:46 AM
|
#8 |
|
flyin high
Join Date: Mar 2008
Location: cali
Moto: 10speed huffy w/cards in the spokes
Posts: 2,318
|
couple spy pics, ill let the photos do most of the talkin.....but i got 2 of my emblems for 40bucks(20 apiece)-straight from japan, n.o.s. kawi stuff
__________________
"Racing Is Life, Everything Before and After is Just Waiting" Steve McQueen |
|
|
|
07-10-2008, 03:04 AM
|
#9 |
|
flyin high
Join Date: Mar 2008
Location: cali
Moto: 10speed huffy w/cards in the spokes
Posts: 2,318
|
how the hell did that gsxr get in here?!
 some1 is confused, wearing that shirt while riding that bike 
__________________
"Racing Is Life, Everything Before and After is Just Waiting" Steve McQueen |
|
|
|
07-13-2008, 07:35 AM
|
#10 |
|
flyin high
Join Date: Mar 2008
Location: cali
Moto: 10speed huffy w/cards in the spokes
Posts: 2,318
|
ok fuckers-for some reason, these pics arent that clear....deal with it!
so, i gota pipe, fabbed a brake pedal, got lots of stuff from ebay, motion pro, fast by gast, dynatek, z1 enterprises, ape, pingle, flyncycle, and home depot. lets walk thru it look where the stock brake pedal is with this pipe-comes down, runs along the bottom of the frame, tucks in nice.... but hangs lower than the whole bike by about 3-4 inches now with the new pipe, its alil further to the right, and higher up, so you can lower the bike down real low. only prob is that now-its right below the brake pedal-no more rear brake. so i cut it off 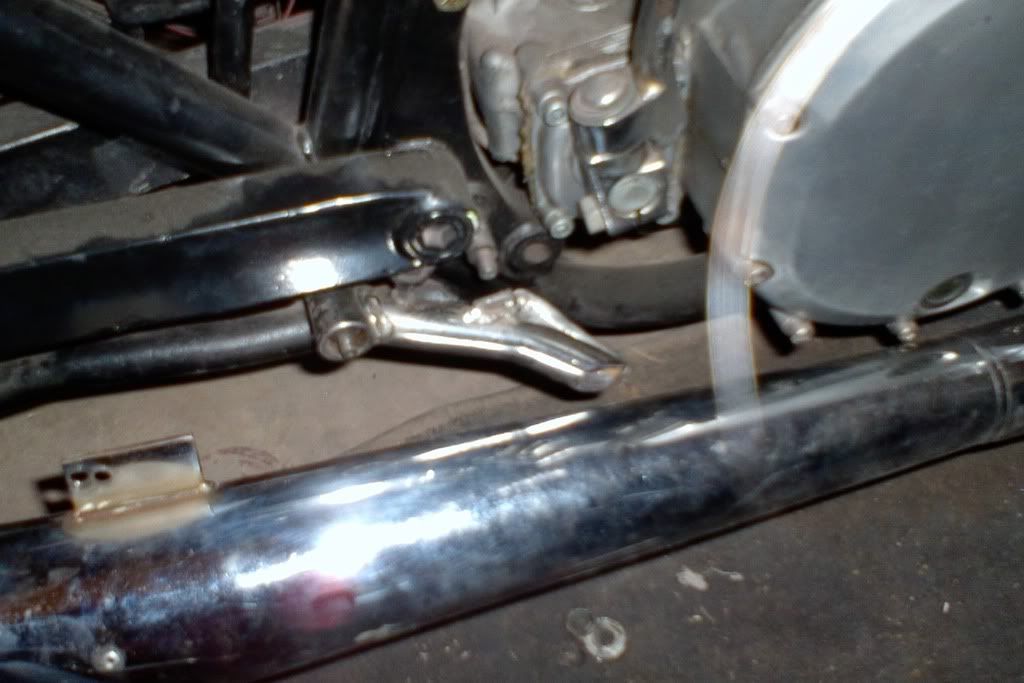 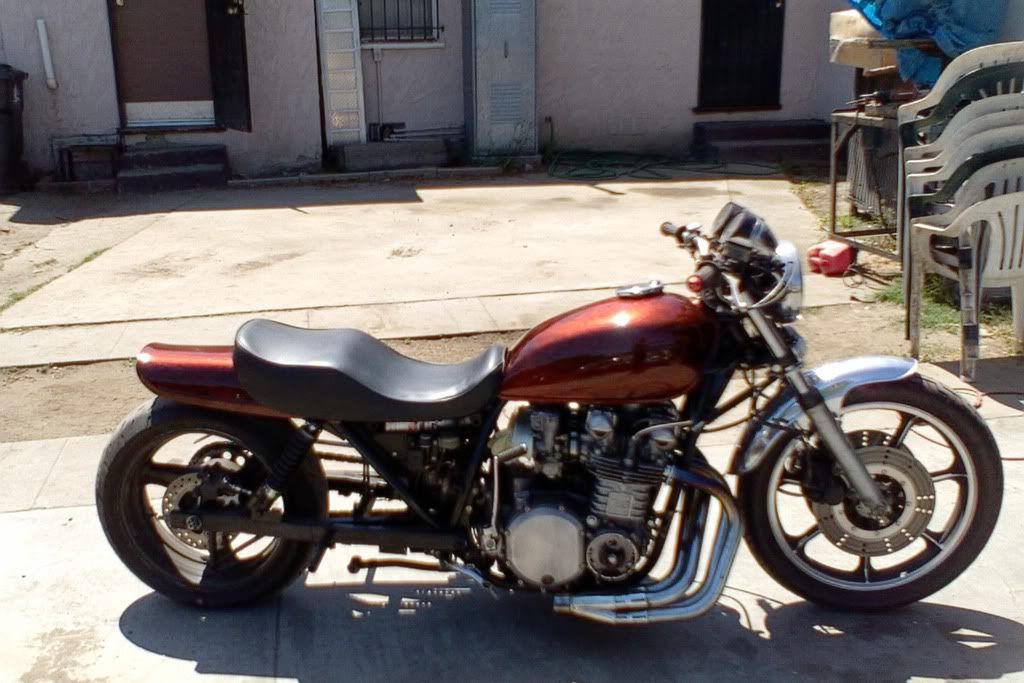 after that, i took some cardboard, made some shapes, got something i liked, and then used some 1/4inchx1 1/2inch flat steel pieces, and some round steel tube, and came up with a clean solution 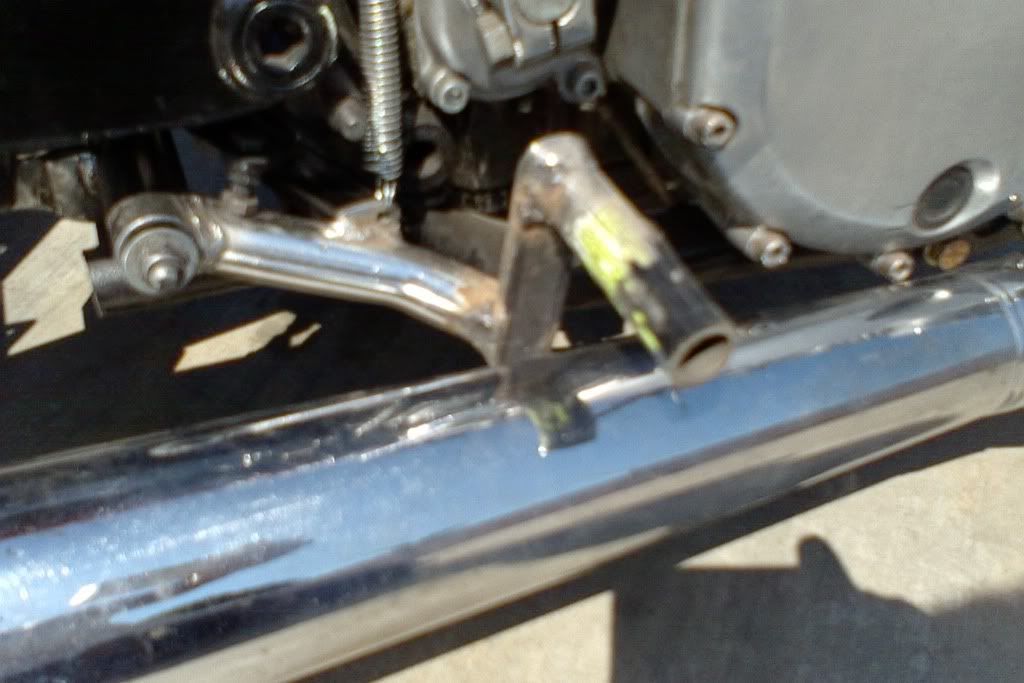 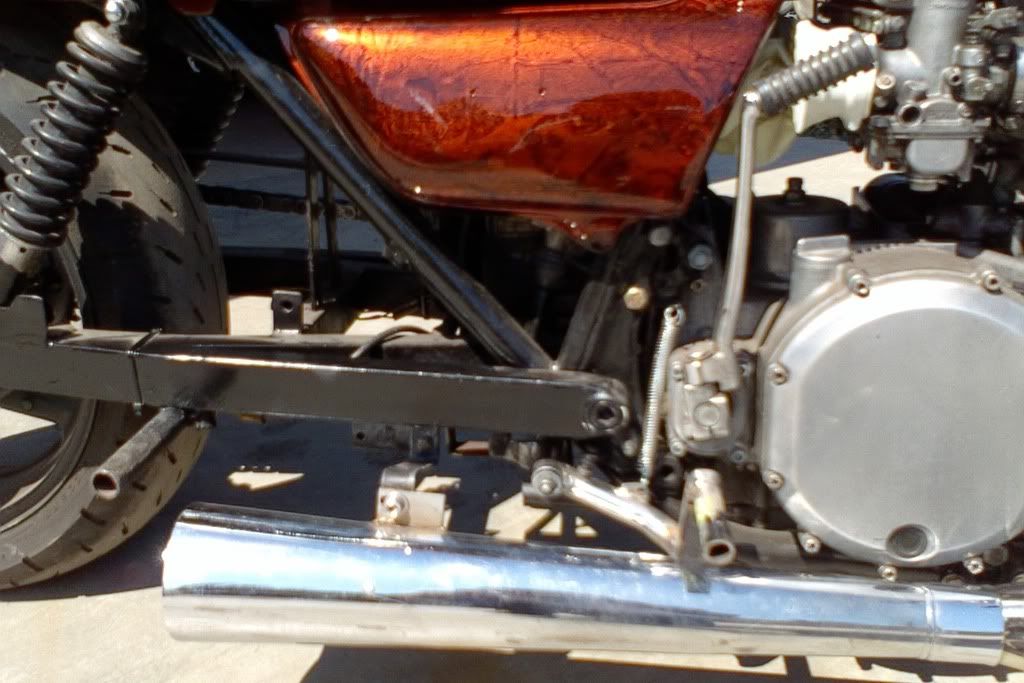 after that, i painted it black & put some nonslip grip tape style stuff on the pedal, just like i did the pegs... moving on, i got the clip-ons...i had to remove the headlite to put em on, bcuz of how the stock headlite bracket was setup. i left the stock bars on for the pic-check out how waaaaaaaaaaaaaaaaay different the riding position becomes! 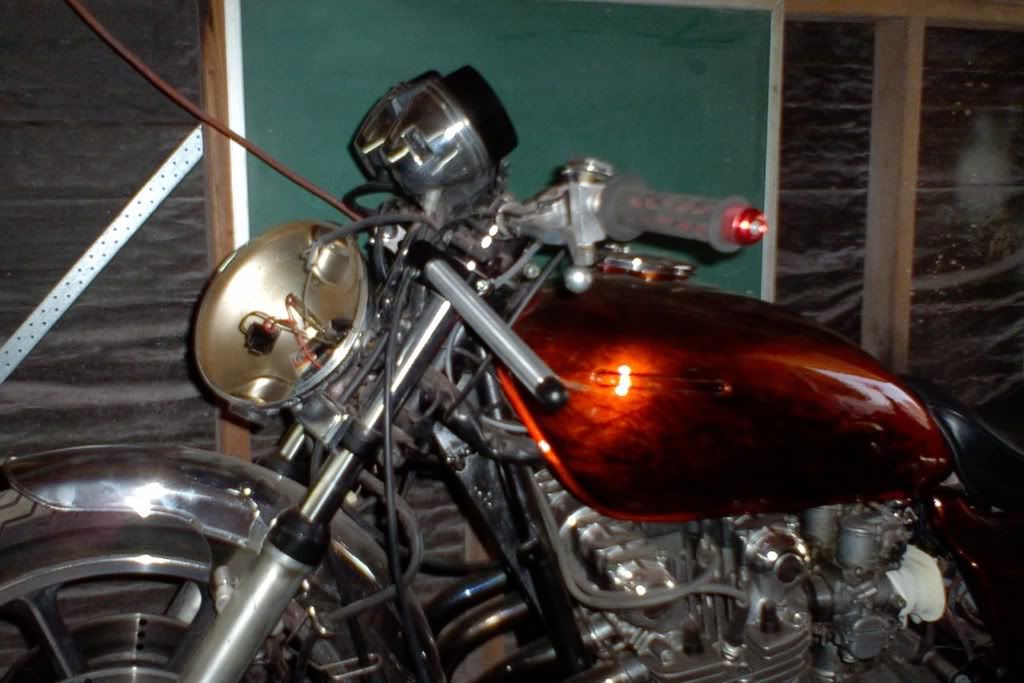 so now i got these lame half circle spaces on the triple tree where the stock bars were, the tach and speedo now appear to stick up way high in reference to the bars 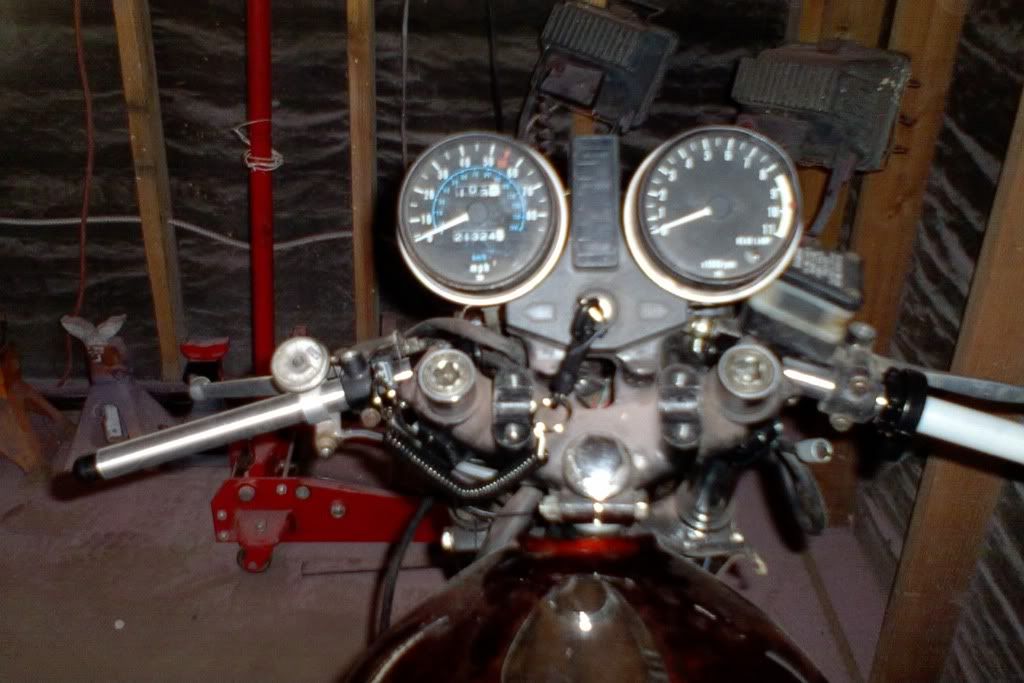 so what to do...........hmmmmmmmmm.......who needs a tach and speedo? right? see ya! 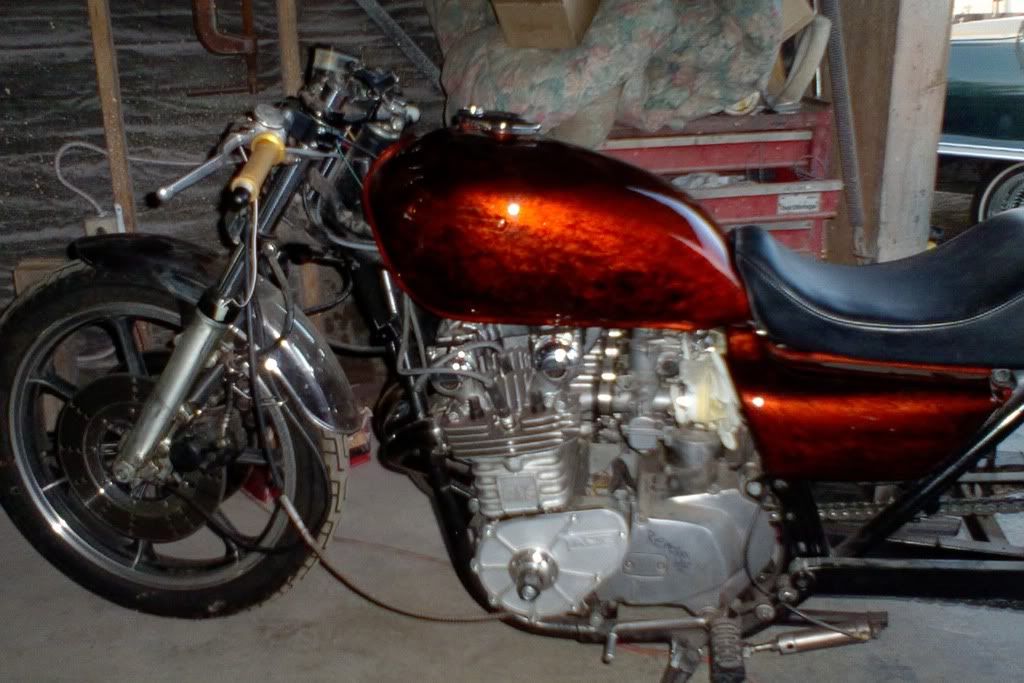 still got the half moon things, they're cast into the top triple tree. more on that ltr....since i got no tach, that means no red mark on the tach to tell me where to shift lol and kinda hard to launch at a consistent rpm. so dynatek to the rescue! gotta shift lite, shift minder, and a 2 step rev limiter. i already had a dyna ignition, and coils. gd stuff these guys, been using it years. works like this= the 2 step is connected to the clutch switch, coils, power, ground. shift minder connects to the coils, power and ground. shift lite connects to the minder. shift lite is obvious, so i'll explain the 2step. it has a low side (3k rpm-10.5k rpm) and a hi side (10rpm-13.8k rpm) adjust the low side to the rpm u wana launch at, and the hi side is your max rev limiter. when u pull the clutch in and rev it, the rpm will stay +/-50rpm to whatever u set the low side at. let the clutch out, and it switches to the hi side limiter, so you dont blow it up if you miss a shift or somethin. theres your basic lesson in 2step operation, now back to the pics. heres the 2step, shift minder/lite, and new fast flo petcock 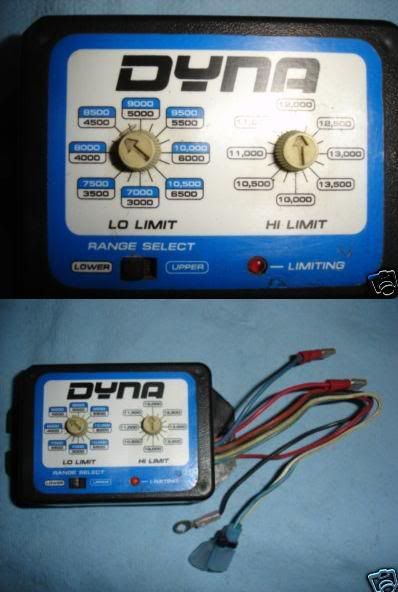 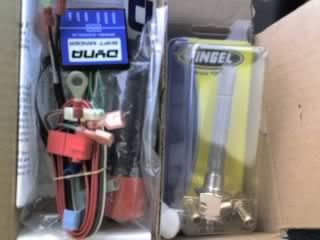 to do this, i had to figure out which wires to use because i also have a airshifter. airshifter kills the power to the coils when u shift, so i cant hook up some of the wires to the coils because the power to the shift minder and 2step can never be cut, otherwise the system gets "lost". im using a old shift lite as a test light, cuz i cant find my other actual one. had to take the coils off to get to the terminals too. 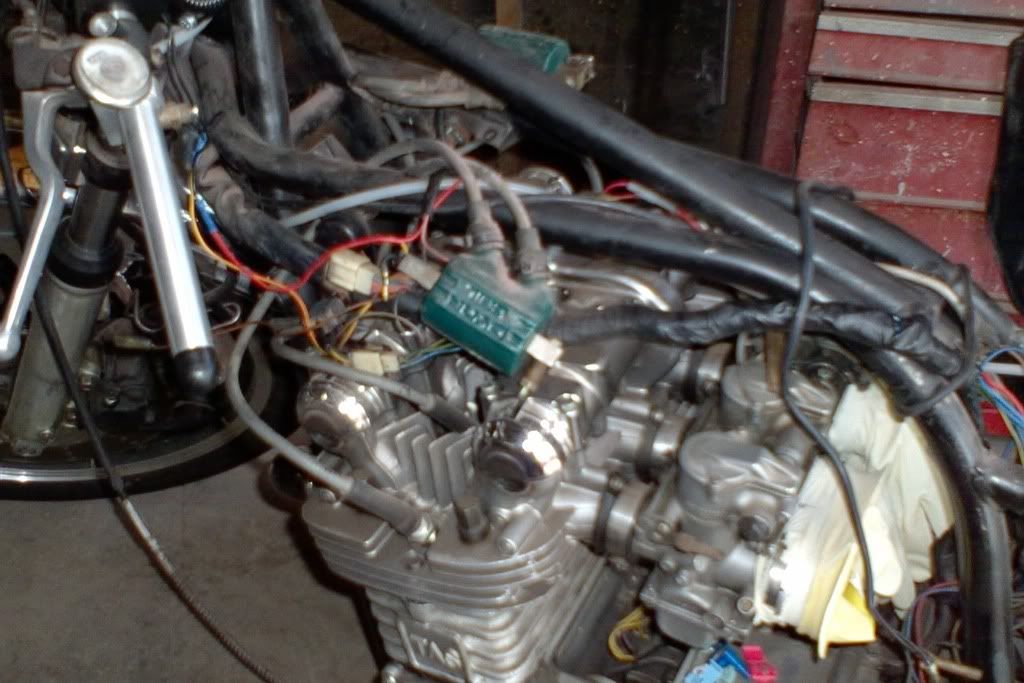 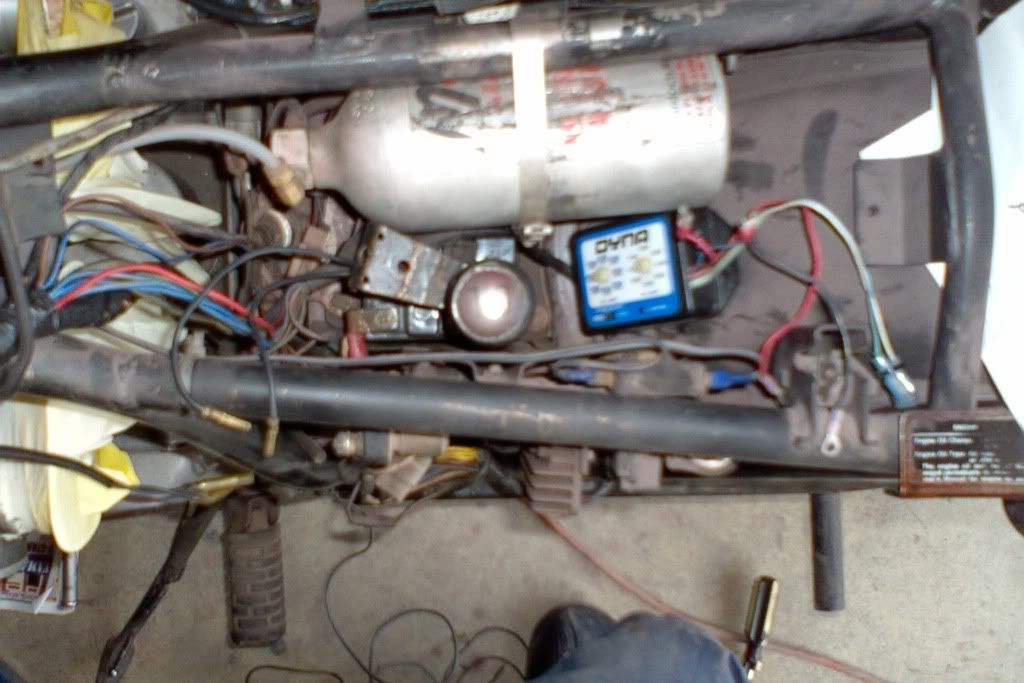 it went quick once i figured out what wires to use. velcro and a zip tie hold the 2step. done-sorta now i got to make a dashboard. from scratch. sounds easy. actually was easy. BUT TOOK FUCKING 5 HRS FROM START 2 FINISH! including lunch tho. i wish i had more patience for the pics, but once i get on a roll, i 4get the camera, and im just workin, the idea maker(my brain) is goin like 100mph, and i forget to take pics. so anyway, i started with this as my area of work. 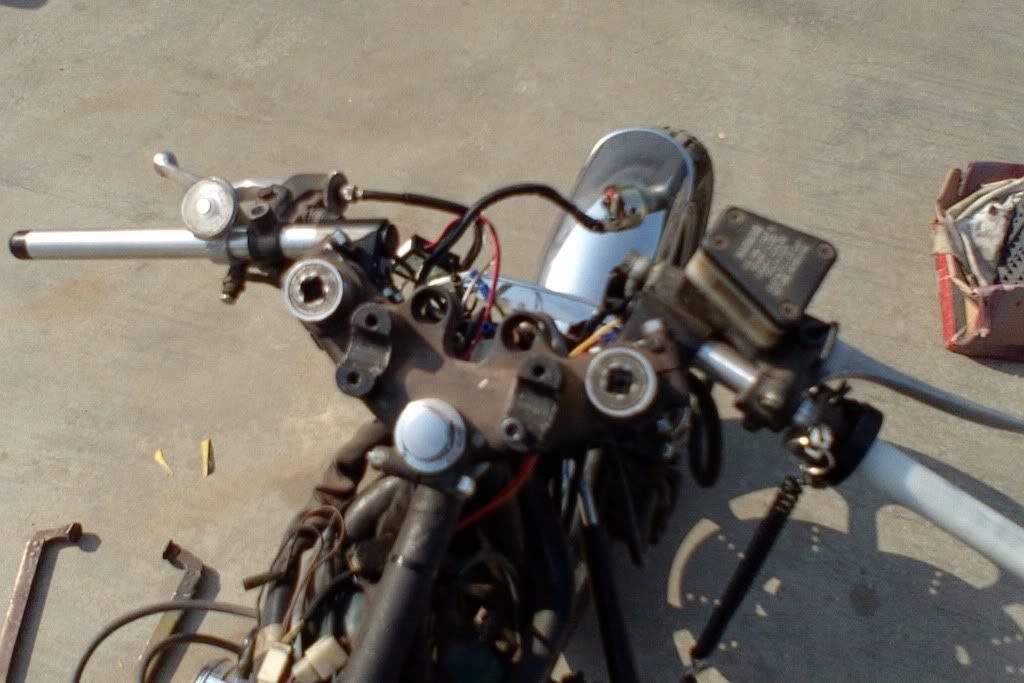 then i took a plastic "for sale", bolted it to the lil half moon things where the bars were. then i started cutting and shaping, tryin stuff, flying blind, but with a destination in mind. and thats how the for sale sign ended up like this.  from there i was content enough with the idea to start workin in metal-so i traced it to a piece of 26 guage sheetmetal, and cut it out. this is about where i hit that gd idea stride, and forgot the camera. but basically i measured, drilled the holes to mount it, mounted it, marked holes and mounting points, went back to the drill press, drilled some more, remounted, marked, drilled, etc etc. got it all mounted nice, then went back and shaped it, made it look pretty, and painted it. final product took awhile, but it was a 1 shot deal. i didnt fuck up once, and i think it looks clean. 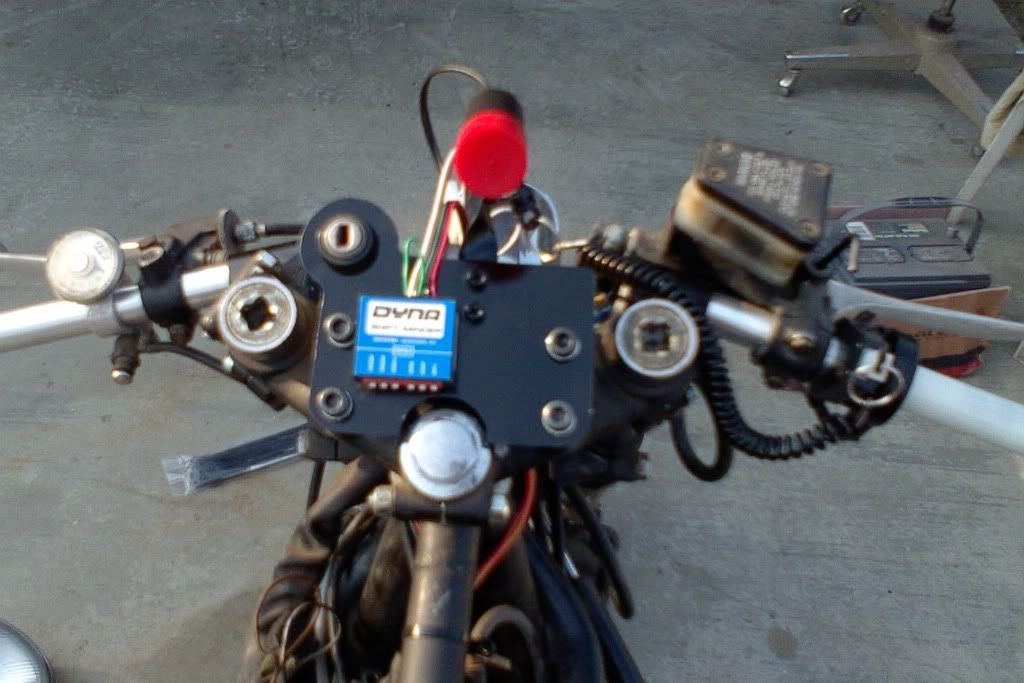 in between all this, i got rid of the old throttle, and with it went the run/kill switch, starter button, and the cables needed to be shorter bcuz of the clip-ons. so i mounted a new slim killswitch from fbg, throttle tube from motion pro and cables from z1 enterprises. so, as promised, 97% done. i got some new/dif style headlite brackets in saturday, so those will go on alil later today, and i need to fab up the rear mount for the pipe. i made 1 already, but i was being a tard and mounted it to the swingarm cuz there was a tab there for it already. 20mins later i realized the swingarm pivots, and that wouldnt work. only took 10mins, so im not mad, was just a "duh" moment. laughed and moved on. heres the new tank emblem i mentioned earlier, goes with the color way better than the stock white emblem. 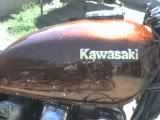 and a few other pics, give u an idea of the paint, the dumb bracket i made, and where the headlite mite sit. 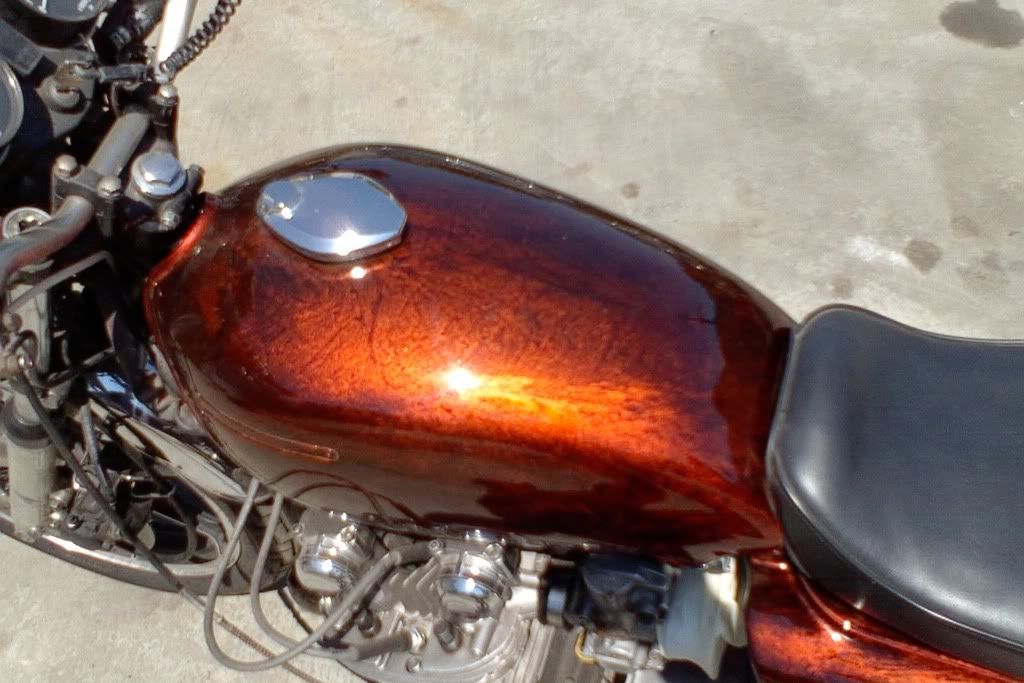 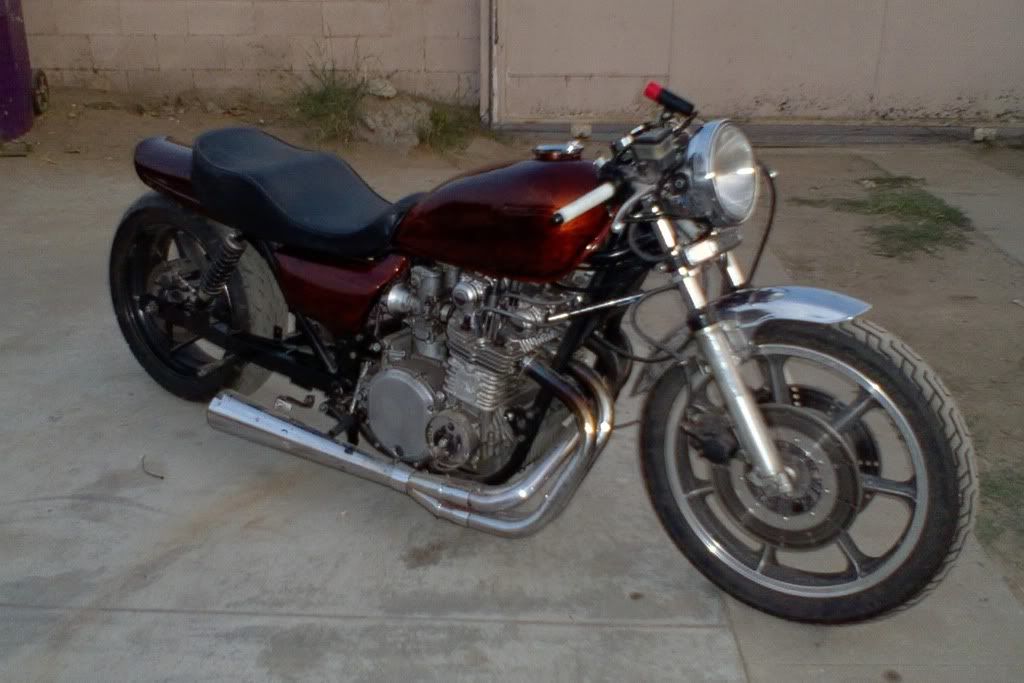
__________________
"Racing Is Life, Everything Before and After is Just Waiting" Steve McQueen |
|
|
| Bookmarks |
|
|


 Linear Mode

